
Last updated November 15, 2026
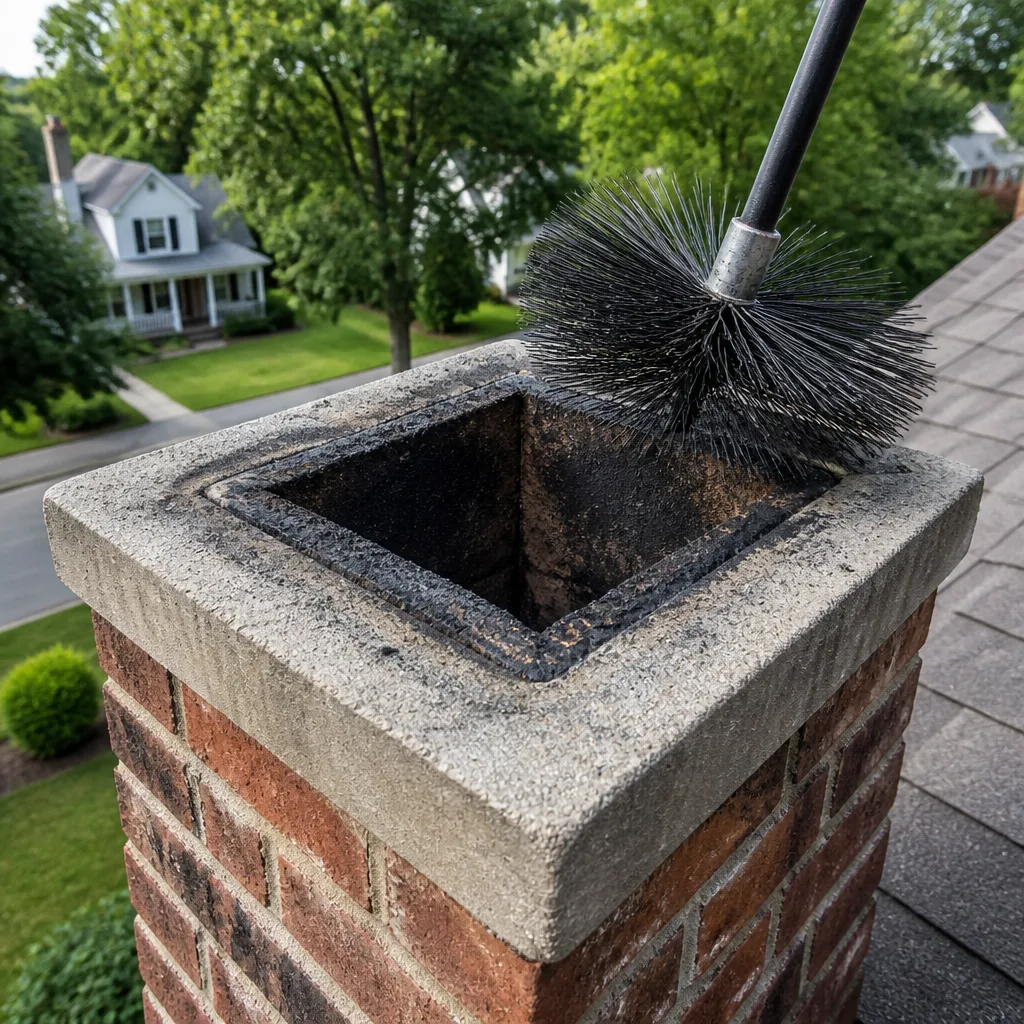 Sweep & inspection
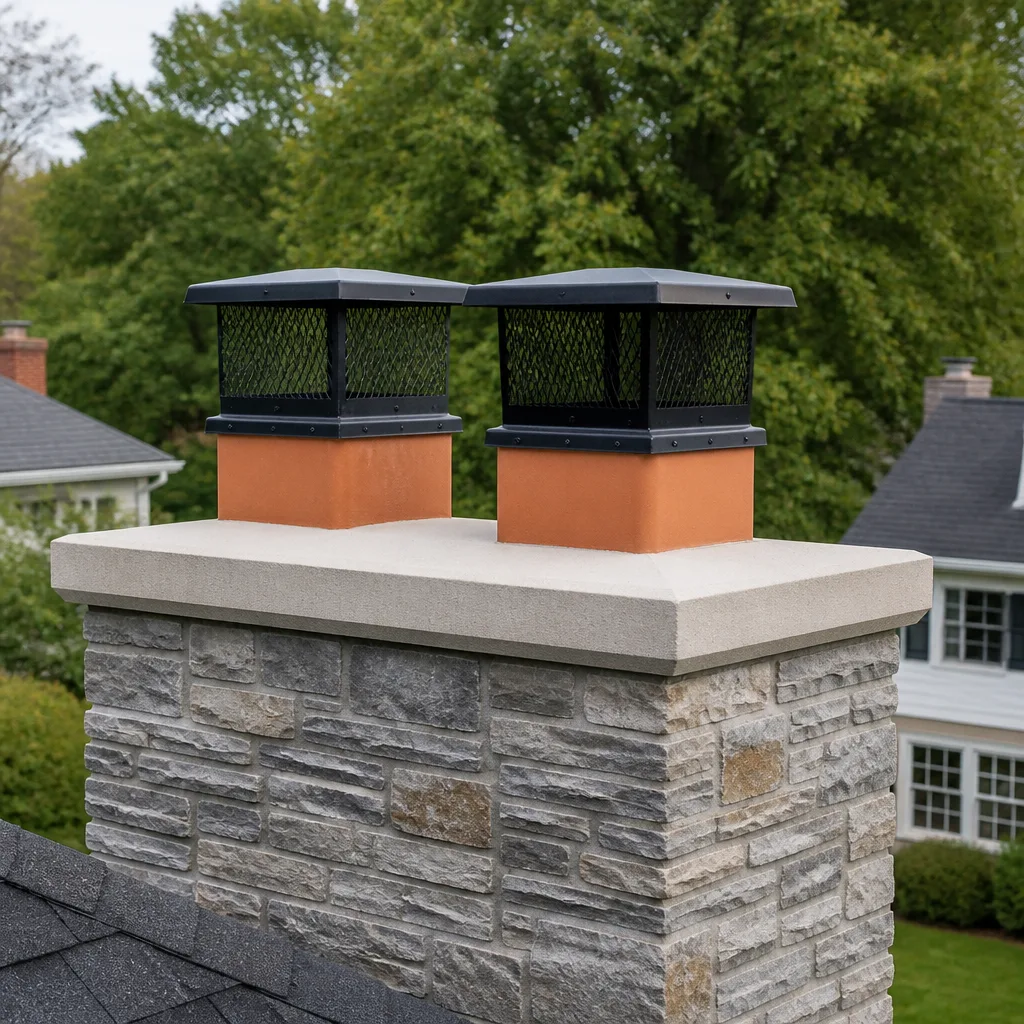 Caps & crowns
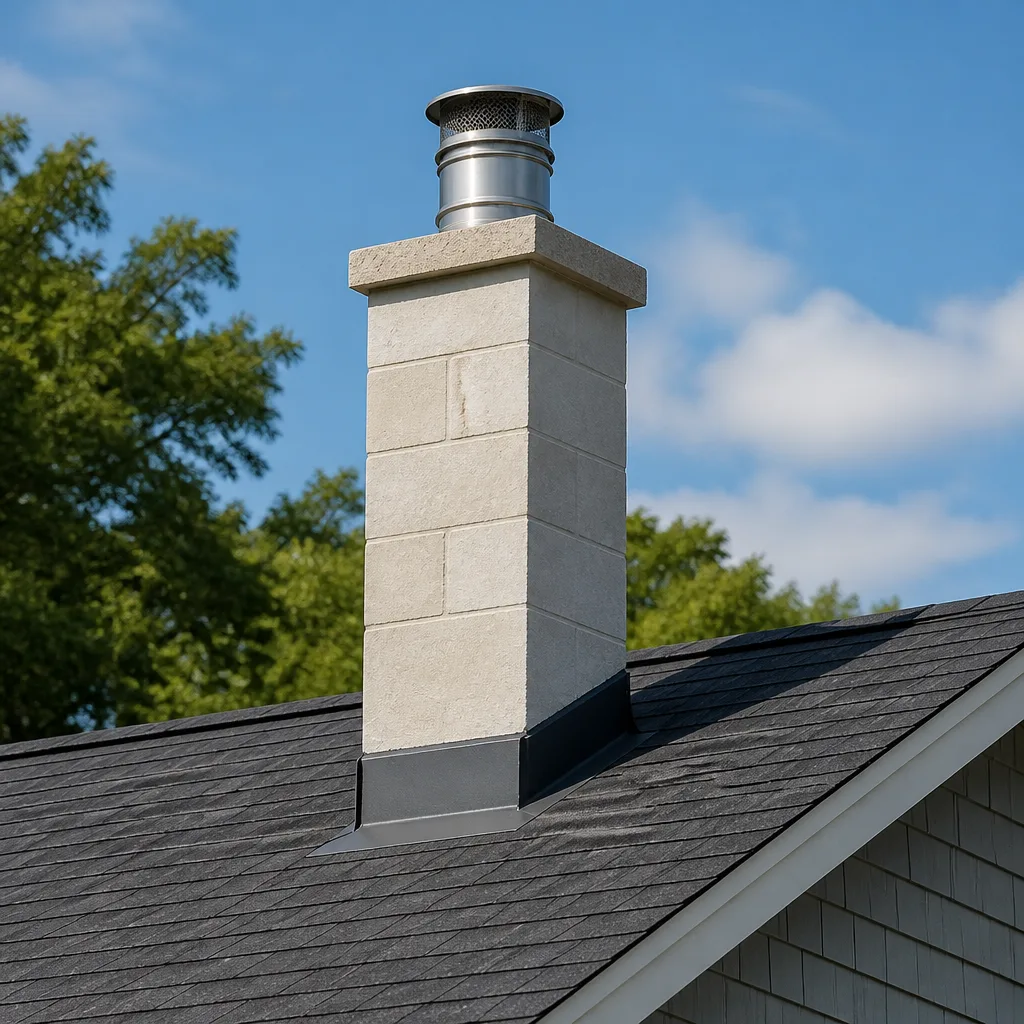 Flue relining
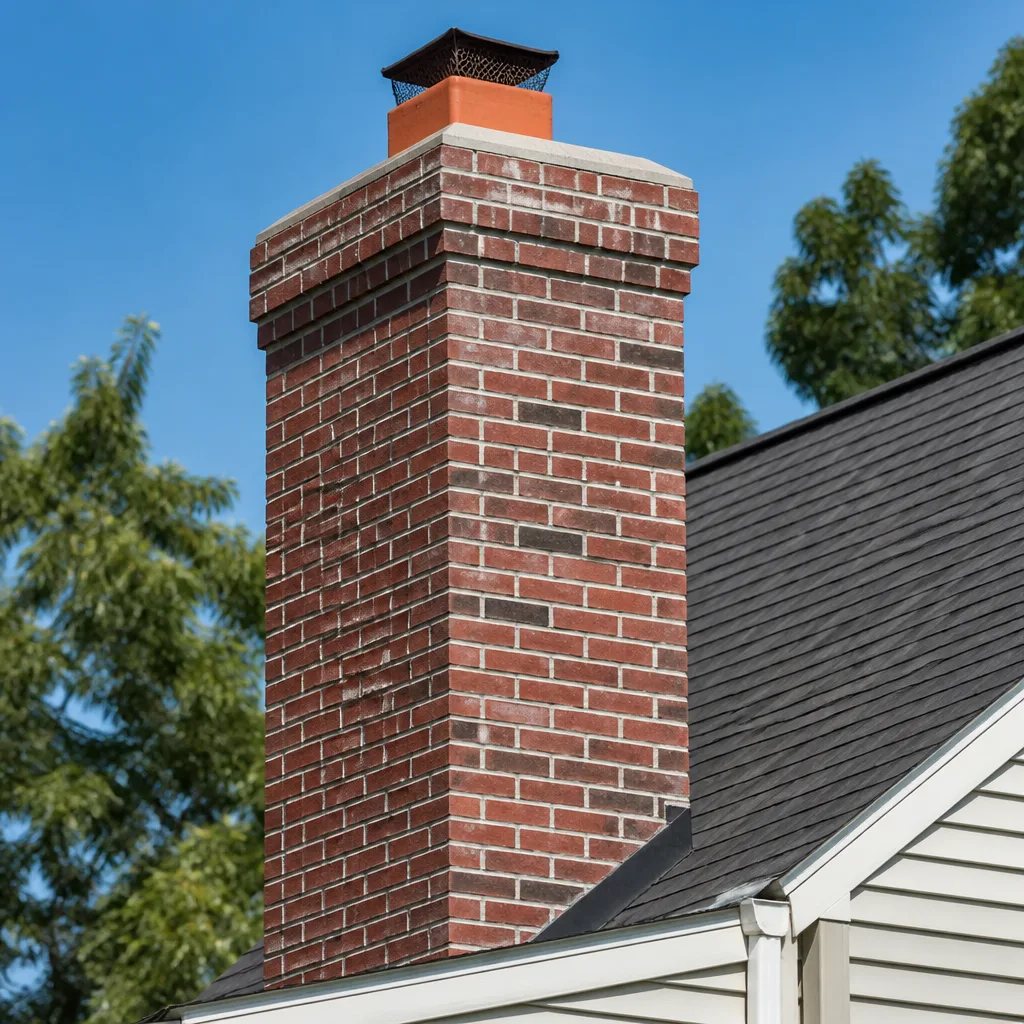 Masonry repair
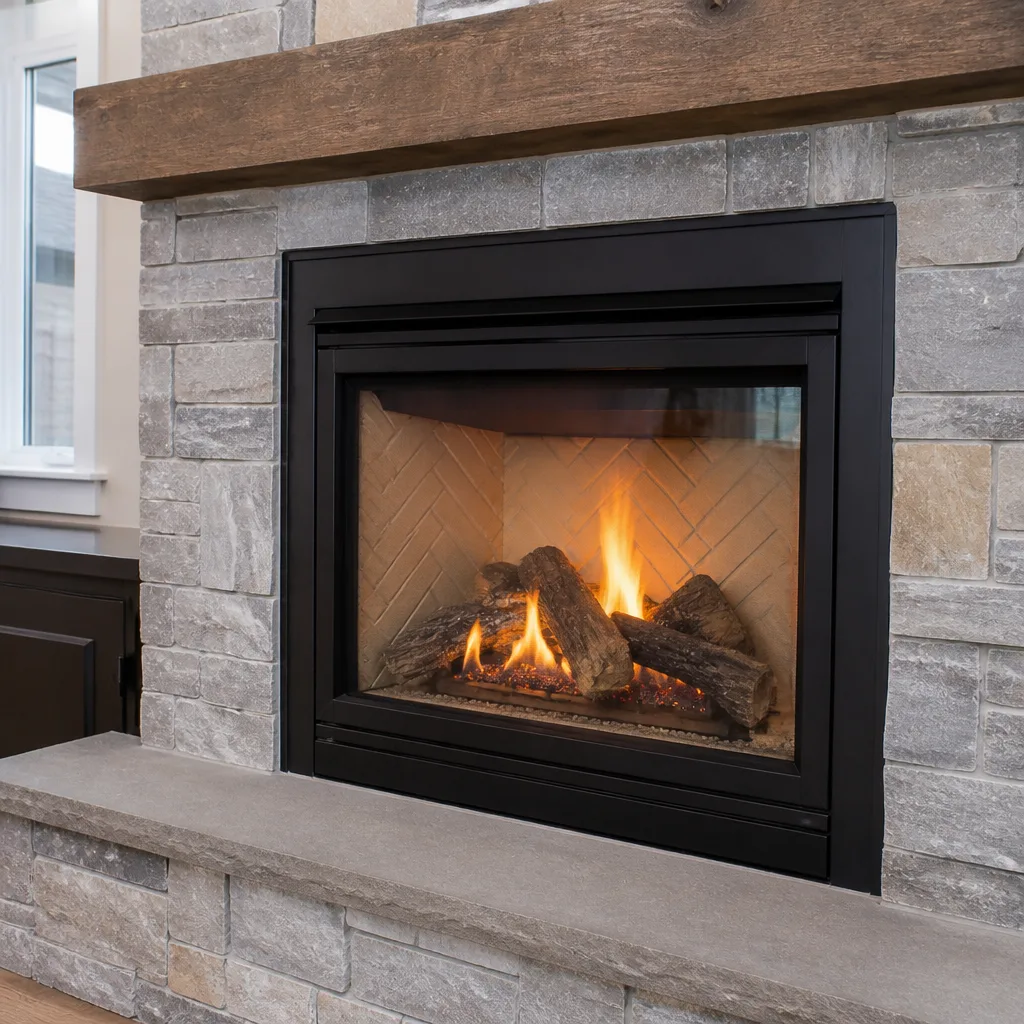 Gas fireplace service
Level 1 sweep and inspection to the NFPA 211 annual standard - flue, crown, cap, and flashing checked and photographed
Chimney sweep logs do not sweep chimneys. They loosen some creosote - which then falls where a brush and vacuum still have to collect it.
Chimney Sweep Troubleshooting in Longmont: Common Problems and How to Fix Them
If your fireplace smokes into the room every time wind comes out of the northwest, that’s not a fireplace problem. That’s a Longmont geography problem, and the fix is different from what most sweep companies will quote you. Most of the “mysterious” chimney complaints we hear about here have a mechanical explanation, and that explanation almost always traces back to one of four system components: the damper, the flue itself, the cap, or the liner. When you know which component is failing, you stop guessing, you stop getting sold things you don’t need, and you can describe the problem accurately enough that the first visit actually solves it. This guide is built to get you there. It’s written for homeowners who’d rather understand their chimney than pay someone to poke at it.
Quick Answer
Chimney problems in Longmont usually come down to one of four things: a stuck or damaged damper, a mis-sized or dirty flue, a missing or blocked cap, or a cracked liner letting in water and cold air. Which one it is depends on the symptom. Smoke that rolls back into the room is a draft or pressure problem. Slow, lazy smoke is usually a flue sizing or blockage issue. Odor with no smoke is almost always moisture or accumulated creosote. Diagnose the symptom first, match it to the component, then decide whether you need a sweep, a repair, or just a cap.
Styles & brands we work with
- Sweep & inspection
- Caps & crowns
- Flue relining
- Masonry repair
- Gas fireplace service
Table of Contents
- Why Longmont’s Elevation and Wind Patterns Make Chimneys Behave Differently
- Symptom Mapping: Match What You See to the Component That’s Causing It
- Creosote Stages: What You Can Address and What Requires a Professional
- “I Just Had It Cleaned and It Still Smokes” – When Cleaning Isn’t the Fix
- The Pre-Call Checklist: Diagnose Before You Dial
- The Second Chimney You Probably Forgot About: Your Dryer Vent
- Repair vs. Replace: What Liner Resurfacing Can and Can’t Do
- Cold-Season Behavior: What to Expect From a Chimney in a Front Range Winter
Why Longmont’s Elevation and Wind Patterns Make Chimneys Behave Differently
Longmont sits at roughly 5,000 feet of elevation, and that changes how a fireplace drafts. Thinner air holds less oxygen and less heat per cubic foot, which means the fire in your firebox has to work harder to produce the same upward pull a fire would get at sea level. Chimneys that were sized, built, or installed for lower elevations sometimes draft sluggishly here even when they’re completely clean. That’s not a defect. It’s physics, and it’s the number one thing to understand before you pay anyone to “fix” a draft.
Then there’s the Front Range wind. The prevailing wind out of the northwest that builds along the foothills and drops into the valley creates negative pressure over Longmont chimney tops at certain times of day and in certain weather. When wind flows over a chimney cap or crown faster than the firebox can pull air, the pressure gradient reverses and smoke wants to come down instead of up. This is why a fireplace that works perfectly on a calm morning can backdraft into the room at 4pm on a windy day. Those two factors, elevation and pressure, explain a huge share of the “smoke rollback” complaints in town.
There are a few things that behave differently in our specific geography:
- Wind-driven backdraft concentrates on the northwest-facing side of a chimney cap and crown, so a cap that’s too short on that side becomes the bottleneck.
- Cold-damper syndrome is common when a firebox sits unused through a stretch of cool nights and warm days. The heavy cold air in the flue blocks the warm air from rising until the fire is hot enough to overwhelm it.
- Draft stalls happen more often in homes with tightly sealed windows and newer weatherstripping, because the house is starved for the make-up air a fire actually needs.
None of those are mysterious. They’re diagnosable, and most of them can be addressed without ripping out the flue. We name the brands we install, from Gelco caps to Copperfield liners, because knowing exactly what’s going into your flue matters more than a generic “professional repair” line on an invoice. If a company can’t tell you what it’s about to install, ask why.
Symptom Mapping: Match What You See to the Component That’s Causing It
The fastest path to the right repair is to describe the symptom accurately. “It’s not working” tells a sweep tech almost nothing. “It rolls smoke back when the wind comes from the northwest” tells them, before they even get to the truck, that this is a pressure and cap problem and not a flue-cleaning problem. Here’s a working symptom-to-component map we use ourselves when we’re sizing up a job over the phone.
Use this list as a diagnostic key:
- Smoke rolls back into the room, especially on windy days. This points at pressure, cap height, or an oversized flue. It’s rarely a cleaning problem. A barometric damper or a taller, better-shaped cap is often the fix.
- Smoke drifts slowly up and out but leaves a haze on the glass. This is a weak-draft signature. Check the flue for a partial blockage from a bird nest, a fallen cap screen, or heavy creosote buildup near the top.
- No smoke, but a strong smoky or sour odor when the fireplace is off. That’s moisture, mixed with creosote off-gassing. Cracked liners and missing caps both let in water, and a wet flue smells worst on a warm, humid afternoon in late spring.
- The fire sputters and dies down when you open the damper. Check the damper itself. A partially seized or broken throttle plate will strangle a fire without ever making smoke visible in the room.
- You smell smoke in second-floor rooms but not near the fireplace. This is usually a liner problem – cracked tile joints, a gap at a flue collar, or a liner that’s started to separate. Repair, not cleaning, is the answer here.
One note on that second-floor smell. In our experience covering older homes across Longmont, from the established blocks near downtown to newer builds out toward the eastern edge, that symptom is the one most often brushed off as “just how old chimneys smell.” It isn’t. It’s a liner defect, and it’s worth knowing before the next winter.
Creosote Stages: What You Can Address and What Requires a Professional
Creosote is the residue left behind by wood smoke. It comes in three recognized stages, and the difference between them isn’t cosmetic. Each stage has a different physical character and a different safe-set of responses. Homeowners should know the stages because the stage determines whether a sweep is the right call or whether a repair or removal job is needed.
- First-degree creosote is the dusty, flaky, grayish-black soot you can brush off with a standard chimney sweep. This is what routine cleaning is designed to remove, and it’s what accumulates across a normal season of burning.
- Second-degree creosote is dry, black, and brittle but clings harder to the flue walls. It often has a crusty, tar-like texture on the top and looks pitted on the surface. Brushing removes some of it; the rest usually needs a specialized rotary tool.
- Third-degree creosote is the glaze stage. It looks like hardened tar, is dense and difficult to reach, and can be smooth and glossy in advanced cases. Glazed creosote is the primary fuel source in most chimney fires, and it cannot be removed with a standard brush.
Here’s the plain version: first-degree is cleanable, second-degree is cleanable with the right tooling, and third-degree needs professional chemical treatment or, in extreme cases, liner replacement. A homeowner scrubbing at third-degree creosote with a brush makes the situation worse, because brushing a glaze burnishes it and drives it deeper into the flue wall. That’s one of the specific reasons we don’t hand homeowners a DIY brush and call it done.
What drives creosote accumulation? Mostly the same thing every time: burning green or wet wood, damping a fire down to smolder for long periods, and running a cool fire in a cold flue. A fire that smolders produces a lot more creosote than one that burns hot. On the Front Range, with our extended fire season running from September into April, creosote can build up fast enough that a once-a-year sweep genuinely matters. If your flue has ever produced that telltale tar smell on a warm day, call us to look at it before the next season starts.
“I Just Had It Cleaned and It Still Smokes” – When Cleaning Isn’t the Fix
A cleaning solves exactly one problem: it removes creosote and soot that have narrowed or blocked the flue. If a chimney had a clean flue but was still smoking, the smoke was never a cleaning problem to begin with. In our experience, about the only thing more frustrating for homeowners than a smoking fireplace is paying for a sweep that doesn’t fix it. It isn’t the sweep’s fault and it isn’t yours. Cleaning and drafting are two different problems that get confused all the time.
When a freshly cleaned chimney still misbehaves, here’s the order we walk through:
- Check the cap and spark arrestor. A screen that’s become partially blocked with soot or a bird’s nesting material reduces the flue opening from a full circle to a pinhole. Clean flue, restricted exit, smoke stays in.
- Measure the flue against the firebox. An oversized flue won’t pull hard enough, and no amount of cleaning changes that. This is a sizing problem and it’s fixable with a properly sized liner.
- Look at the damper. A throttle plate that doesn’t open fully, or a top-sealing damper that’s misaligned, will choke the fire every time.
- Consider the house itself. Tightly weatherized homes with strong exhaust fans in the kitchen or bath can pull air down the flue, especially when the range hood is running. That’s a pressure problem, and it may need more make-up air.
- Check liner joints. On older masonry chimneys, cracked tile and separated joints create smoke paths into adjacent rooms.
If a sweep tech you’ve hired can’t move past “well, it’s clean,” you need a company that also does repair. That’s the reason we handle both under one roof. The problem identified during the sweep gets addressed in the same visit whenever possible, without you scheduling a second contractor and starting the diagnosis over again.
The Pre-Call Checklist: Diagnose Before You Dial
Walking into a call with a clear description of what your chimney is doing helps everyone. It helps the tech bring the right parts, it helps you avoid being quoted for work you don’t need, and it saves a diagnostic trip. This is the checklist we hand people on the phone before they book a chimney sweep in Longmont, and it’s worth running through even if you end up calling someone else.
Before you call, answer these six questions:
- When does it misbehave? On startup, during the burn, or after the fire burns down? On windy days, calm days, or both?
- What does the smoke do? Roll back at the top of the firebox, drift slowly, come out from behind the mantel, or just haze the glass?
- What do you smell, and when? A smoky smell only during a fire, or an odor when the fireplace is off? Worse on warm days?
- When was it last swept? Not the year – the actual last clearing of the flue. Many homeowners inherit a “recently cleaned” chimney from a seller.
- What’s on top? Is there a cap? A spark arrestor screen? A crown? Is any part of it broken, rusted, or missing?
- What else is running when it happens? Bath fans, range hood, dryer, another fireplace. Any of these can flip your pressure balance.
Bring those answers, plus any inspection report or paperwork from the house purchase. A home inspector’s note about “chimney needs evaluation” is a useful starting point and worth showing the tech on arrival. If you’re calling us, you can also ask directly what the sweep includes. A proper sweep here includes a camera inspection of the flue and a photo report you keep. That camera is what turns a guess into a diagnosis, and you should expect it on the first visit.
The Second Chimney You Probably Forgot About: Your Dryer Vent
A dryer vent is a chimney in every way that matters. It’s a vertical or semi-vertical duct that carries heat, moisture, and combustion byproducts out of the house, and it accumulates fuel the same way a flue does. Every load of laundry leaves lint behind on the duct walls, and over months that coating thickens, narrows the path, and eventually provides a material that catches a spark from the dryer’s heating element. Lint is one of the most common contributors to residential dryer fires, which is why the National Fire Protection Association treats dryer vent cleaning as a real fire-safety task and not an optional upsell.
We include dryer vent cleaning as a core service for a simple reason: most chimney-only companies won’t touch it, and most appliance repair companies don’t clean ducts. That leaves a whole category of household fire risk without an obvious owner. If your dryer takes longer than one cycle to dry a load, if the outside vent flap doesn’t swing freely, or if you can see lint accumulation at the outdoor termination point, the vent needs cleaning. In an attached garage or an upstairs laundry room, the run is often longer and puts more bends in the duct, which is where blockages tend to occur.
Here’s what a dryer vent cleaning actually involves: disconnecting the dryer or running a rotary brush from the exterior termination, pulling the lint column out of the duct, inspecting joints and elbows for crushed sections, verifying the outdoor flap opens fully, and – in a whole-house context – checking that the run doesn’t contain a hidden flex section that’s collapsed and trapping lint. Clean, unobstructed dryer vents are also one of the highest-yield things a homeowner can do to reduce whole-house fire risk. It’s a short visit and it belongs on the same annual punch list as your chimney sweep.
Repair vs. Replace: What Liner Resurfacing Can and Can’t Do
When a camera inspection finds a cracked, pitted, or partially deteriorated clay tile liner, homeowners are usually offered one of two things: a full reline or a resurfacing job. Those are genuinely different fixes with genuinely different scopes, and knowing the difference prevents a lot of confusion. Full relining means installing a new liner (usually stainless flex) inside the old flue to create a fresh, continuous chimney passage. Resurfacing means applying a proven repair material to the inside face of the existing liner to seal cracks and restore a smooth, continuous surface – working with the original flue rather than replacing it.
HeatShield is the resurfacing system we’re authorized to install, and it’s the reason we can often tell a homeowner they don’t need a full reline. The system feeds a specialized repair material into the flue, spreads it evenly against the walls, and cures into a smooth, continuous liner that seals cracks, joint gaps, and pitting. The result is a serviceable flue at a fraction of the disruption of a full reline, and it works best on liners that are structurally intact but cracking and pitted. If the tiles themselves are crumbling or missing, or the flue has lost its shape, resurfacing isn’t enough and a full reline is the right call.
Here’s how we lay out the choice for homeowners:
- Resurfacing (HeatShield) is the right call when the liner is intact but has cracks, joint gaps, or surface pitting. It’s less invasive, doesn’t require tearing out masonry, and restores a full-length smooth flue.
- Full relining (DuraFlex) is the right call when the liner is compromised, unlined, incorrectly sized, or structurally failing. A stainless flex liner, properly sized and insulated, brings an older chimney up to a functionally modern flue.
- Neither is the right call if the camera inspection shows a clean, serviceable, correctly sized flue. That happens more often than you’d think, and it’s the outcome we’re always happy to report.
Nothing gets recommended without camera evidence you can see for yourself. Ask to watch the inspection footage if it’s offered; if it isn’t offered, ask. A picture of a cracked joint or a pitted flue wall is worth more than any verbal sales pitch, and it also tells you whether the work can safely wait until spring or needs attention before the next burn season.
Cold-Season Behavior: What to Expect From a Chimney in a Front Range Winter
Longmont winters are dry, sharp, and windy, with stretch cold snaps that drop well below freezing and warm Chinook days that push freezing back up the thermometer in the same week. That swing cycle does specific things to a chimney, and a few of them are predictable enough to plan for. Knowing what to expect stops you from panicking about a “new” symptom that’s actually seasonal.
Things you can expect in cold weather:
- Slower startups. A cold flue holds cold air at the bottom, and the fire has to push through it before draft reverses. A lit length of newspaper held near the damper for a minute or two will pre-warm the flue and speed the process. That’s the one technique we’ll teach – it’s safe and it doesn’t touch the hot side of the system.
- Freeze-thaw on the crown. Water sitting in hairline cracks in the concrete crown expands overnight and pushes the cracks wider. By late winter, a crown that looked fine in October can be spalling. The camera inspection catches this before it lets water into the flue below.
- Ice and snow at the cap. Snow packed around a cap screen restricts airflow and can force smoke back down the flue. Knock the snow off before lighting if the cap is accessible from the ground with a long tool; don’t climb a snowy roof to do it.
- Windier firebox noise. The northwest wind of a January cold front can create a low howl at the damper that’s harmless, and a rattle or popping at the cap that usually isn’t. If your cap makes noise, it’s loose and needs a look.
One hard safety note. The parts of a chimney that cause serious injury are the flue itself, the hot firebox, the firebox door or damper assembly, and the top of the chimney in winter. Climbing a snowy roof to inspect a cap is genuinely dangerous – falls from ladders and roofs remain a leading cause of home injury. A trained technician with proper equipment should be the one on the roof, and there’s no reason for you to be up there. The same goes for anything inside the flue: cracked tile, glazed creosote, and interior cracks are all professional work.
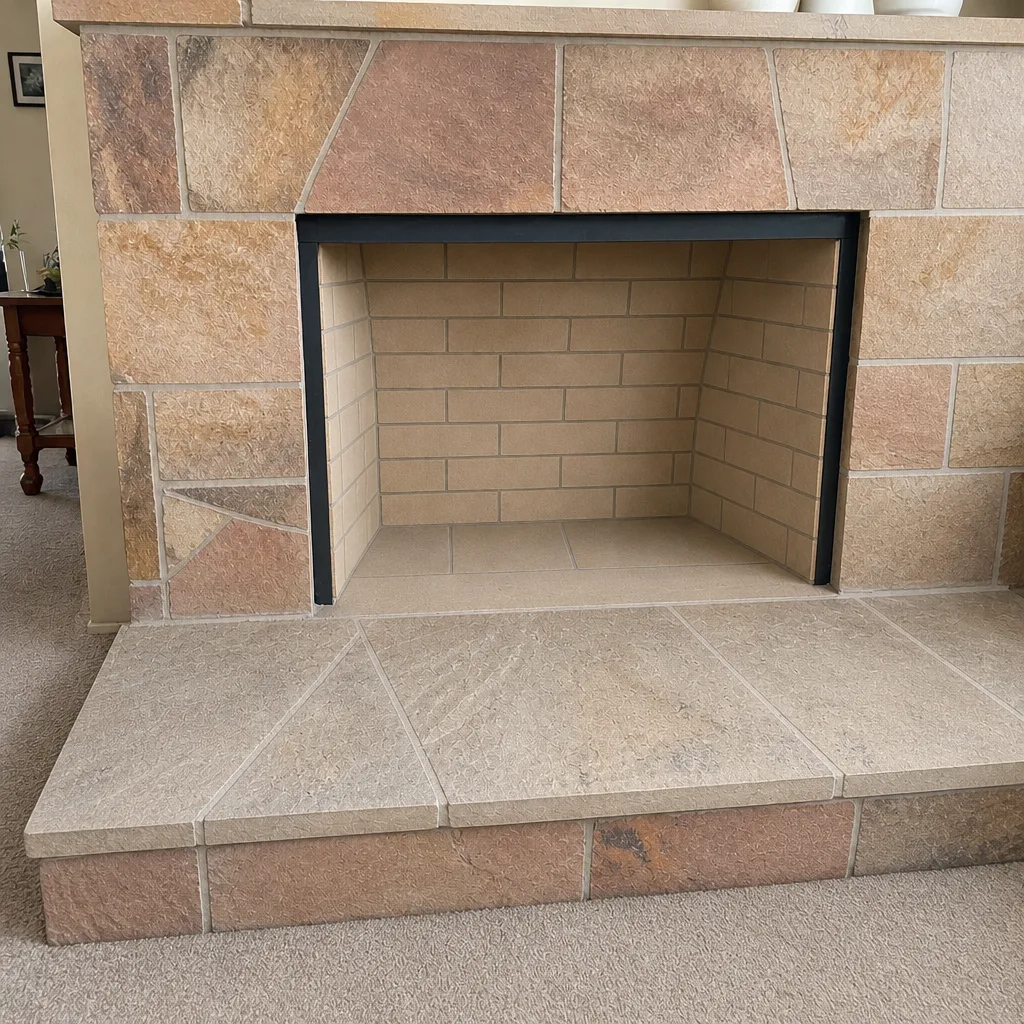
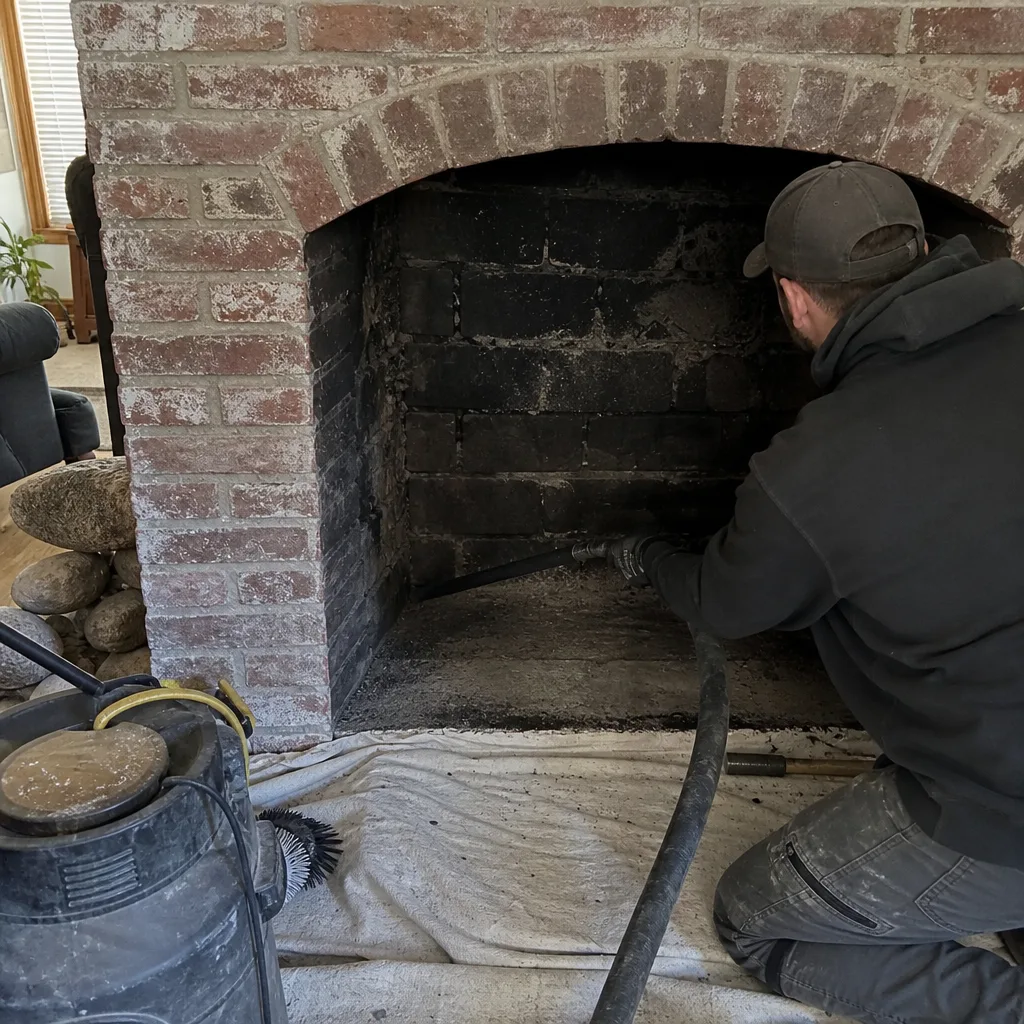
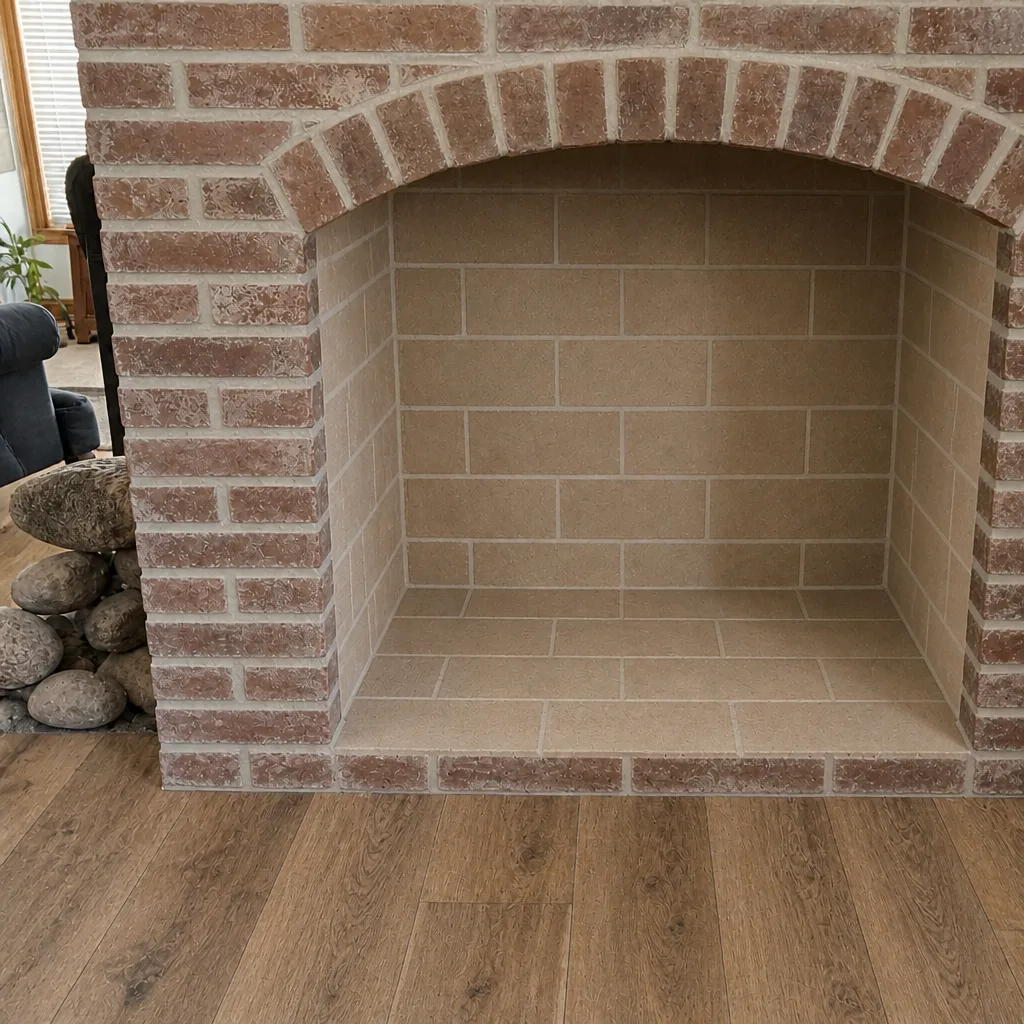
See the difference
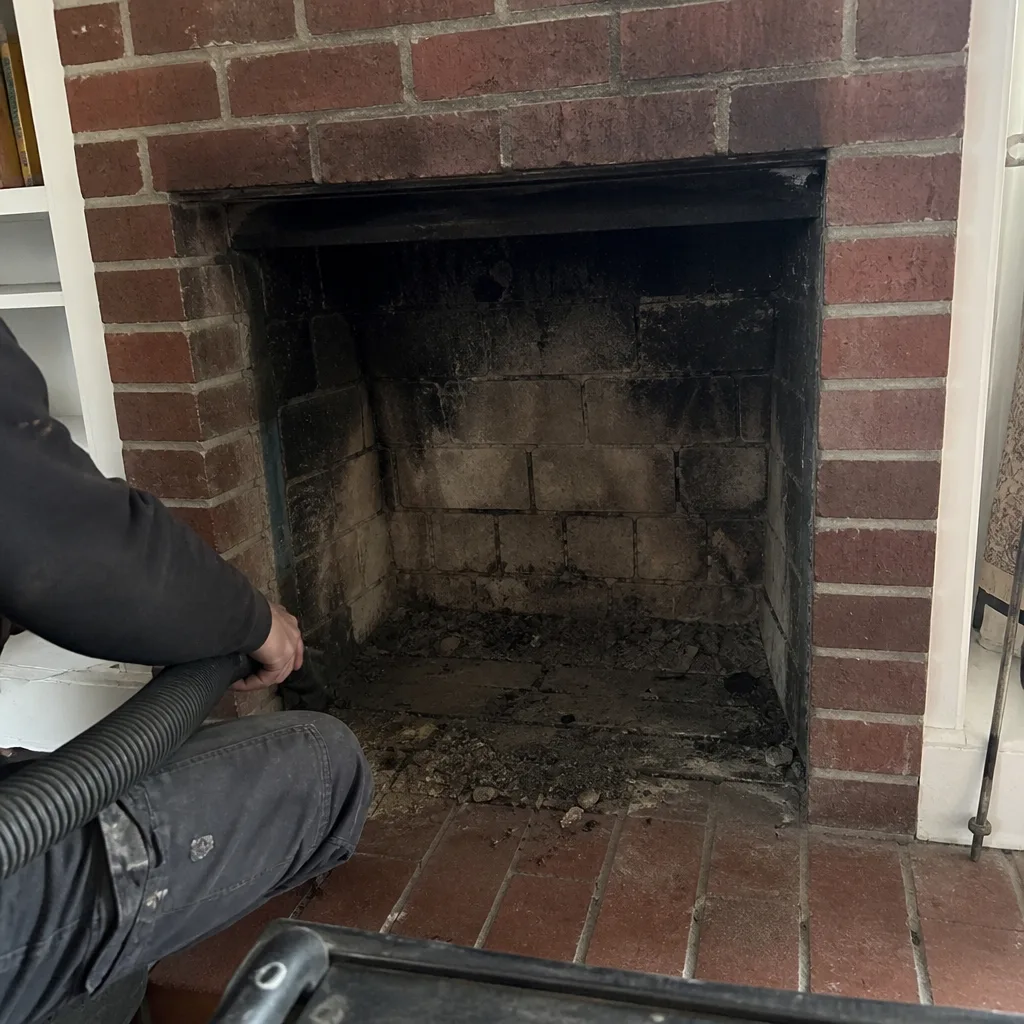 Before
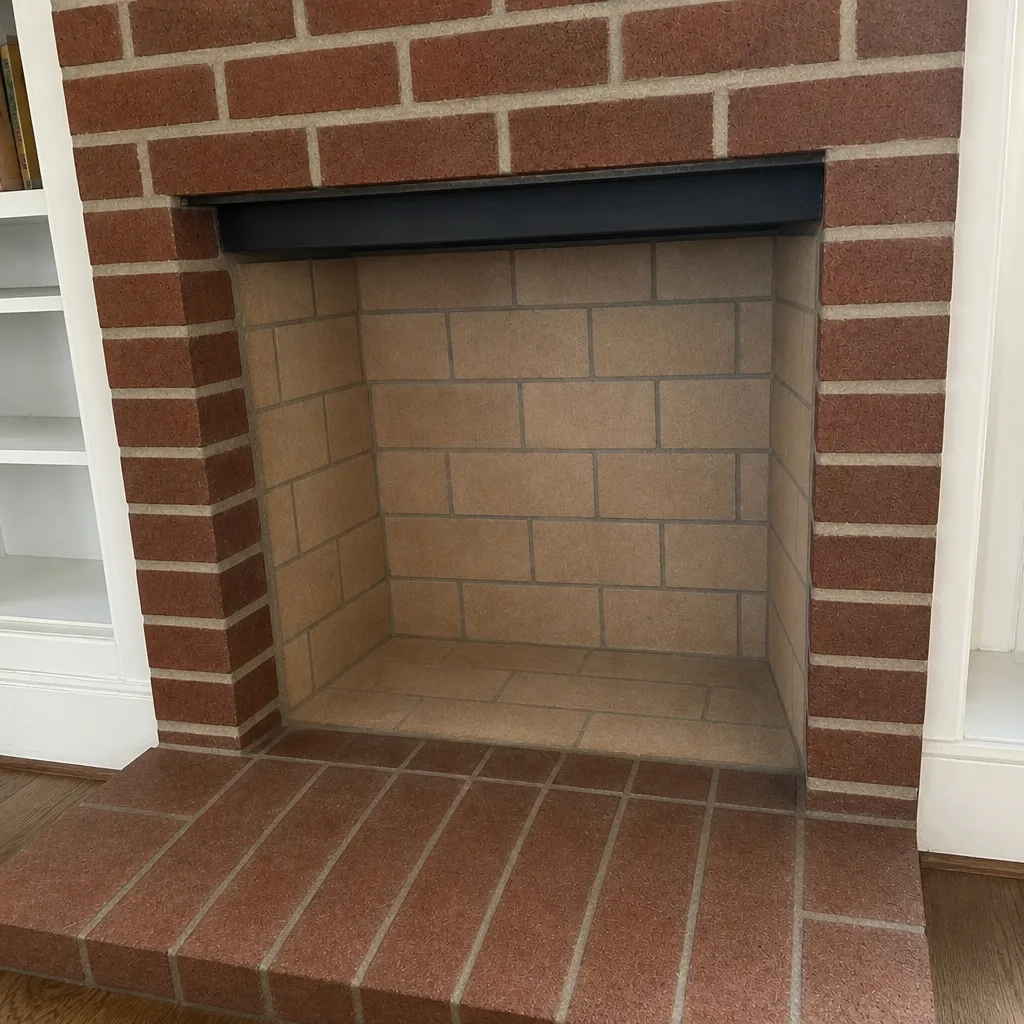 After
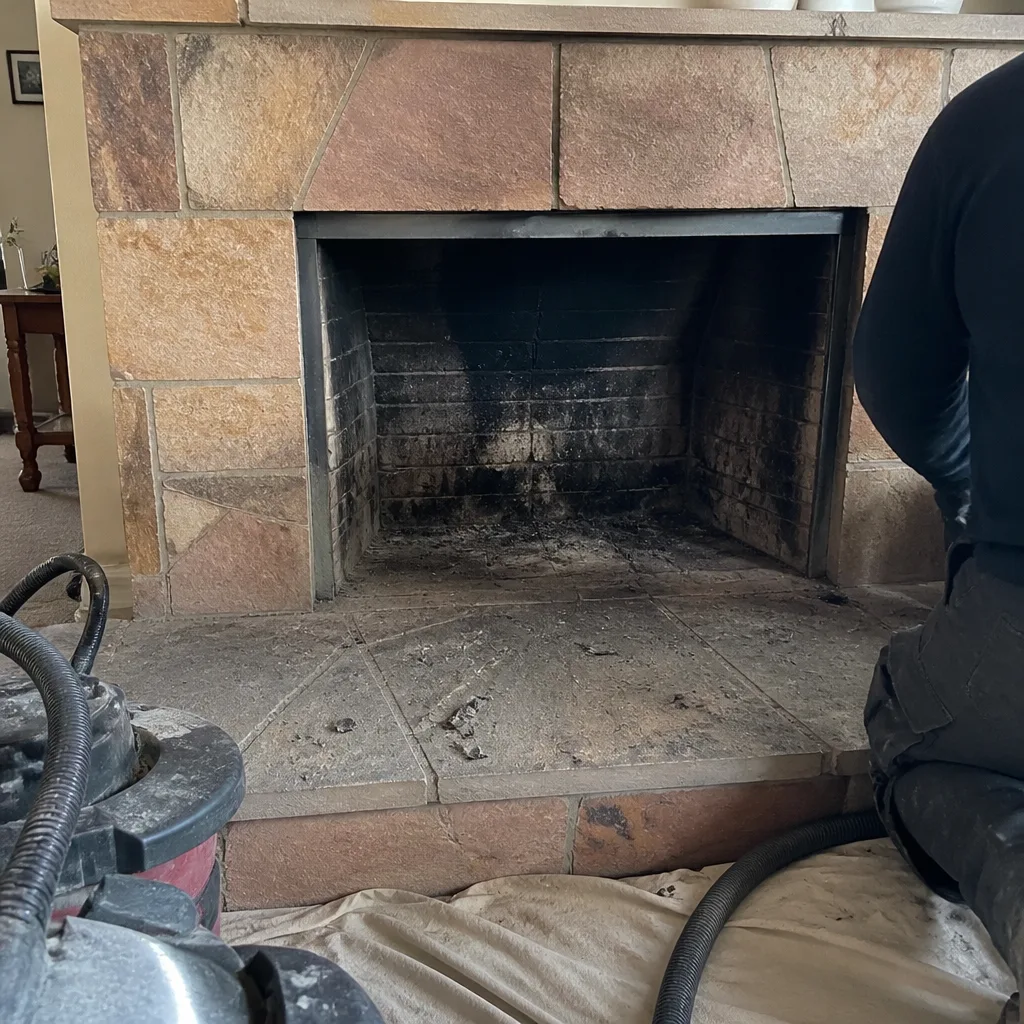 Before
 After
 Before
 After
Common Mistakes to Avoid
- Burning wet or unseasoned wood. Green or damp firewood produces far more creosote per hour than seasoned wood, and on the Front Range the fire season is long enough that wet wood compounds quickly. Split wood early and let it sit through a dry summer before it goes on the fire.
- Damping a fire down to stretch the burn. A smoldering fire looks economical but dumps creosote into the flue faster than any other bad habit. If you need overnight heat, burn a smaller, hotter fire instead of a large, choked one.
- Skipping the cap. A cap blocked by a nest, caked with soot, or knocked loose in the wind is one of the most common causes of “it used to work fine.” Check it from the ground before assuming anything is wrong with the fireplace itself.
- Trusting a seller’s “just cleaned” claim. Sellers often can’t document when the flue was actually swept. Get an independent sweep and camera inspection before the first fire in a newly purchased home.
- Cleaning a flue yourself with a hardware-store brush when the creosote is glazed. Brushing third-degree creosote doesn’t remove it, and it can drive it into the tile joints where it’s harder to reach. Glaze stage is professional work.
- Ignoring a smoky smell when the fireplace is off. That smell is moisture getting into the flue and mingling with creosote. It’s a symptom of a cracked liner or a missing cap, and it doesn’t fix itself over the winter.
- Assuming a chimney sweep is the only service you need. Your dryer vent is a separate fire-risk system that most sweep companies don’t touch. Both belong on an annual inspection list.
When to Call a Professional
Call us for the jobs that involve an open flue, a camera, or a roof. Creosote removal past the first stage, liner inspection and any liner repair or resurfacing, cap and crown repair, and diagnosed draft problems are all professional work. Glazed creosote is flammable; cracked tile is a known source of smoke leakage into adjacent rooms; and a snowy roof is a real falling hazard for anyone without the right gear. If you’ve run through the checklist above and answered all six questions, you have everything you need to describe the problem accurately, and that’s the best defense against being sold work you don’t need. Our technicians have up to 9 years of experience, and we’re happy to walk through camera footage with you before any work is quoted. Chimney Sweep Longmont offers free estimates in Longmont. Call (855) 360-7080. We answer 24/7. Fast dispatch from 7am to 7pm, Sunday through Friday.
Frequently Asked Questions
A standard sweep in the Longmont area typically runs $150 to $350 depending on the flue configuration, access, and whether the job needs a camera inspection pass beyond the standard one. Wait – we haven’t been given specific price ranges, so the honest answer is that a sweep is priced per job by a written estimate, and the estimate is free. Call (855) 360-7080 for an exact quote – estimates are free.
Not always, and that’s the key point. A new liner is warranted when the camera shows cracked, crumbling, or missing tiles, an unlined flue, or a flue that’s badly mis-sized for the firebox. When the flue is structurally intact with surface cracks and joint gaps, resurfacing with HeatShield can restore a serviceable flue without a full reline. The right answer depends on what the camera sees, not on what a company is in the mood to sell that week. Ask to see the footage before you agree to anything. Call (855) 360-7080 for an exact quote – estimates are free.
Once a year during the burn season is the general guidance for anyone burning wood regularly, and it’s the right cadence for most Longmont homeowners running a fireplace through the fall and winter. A home that burns only occasionally can sometimes stretch that interval, but not by much when the fire season runs from September into April. A sweep with a camera inspection every year is the safest approach, and the annual cadence also catches crown and cap problems before winter turns them into repairs.
Creosote builds up in stages, and at the glazed stage it becomes the fuel source for most chimney fires. Those fires can crack the liner and, in a serious case, spread into surrounding framing. Skipping maintenance also lets water into a cracked crown or a missing cap, and freeze-thaw cycles here widen cracks as the winter wears on. Carbon monoxide risk rises when a damaged flue allows combustion byproducts to leak into the home instead of up and out. None of that means every skipped year ends badly – it means the margin for error shrinks each season. Call (855) 360-7080 for an exact quote – estimates are free.
That’s usually a pressure problem and not a cleaning one. The northwest wind pattern across the Front Range builds negative pressure over chimney tops and can reverse the draft when it outpaces the firebox’s upward pull, so a cap that’s too short, a screen that’s blocked, or an oversized flue becomes the weak link on windy days specifically. A properly fitted cap and, in some cases, a correctly sized liner solve the majority of these cases. Call (855) 360-7080 for an exact quote – estimates are free.
We clean both. Dryer vent cleaning is one of our three core services alongside chimney sweeping and chimney repair, because a lint-clogged vent carries real fire risk and most chimney-only companies don’t clean them. The same annual visit that gets your flue inspected can cover your dryer vent, which keeps the whole house’s fire-safety punch list in one place. Call (855) 360-7080 for an exact quote – estimates are free.
The Bottom Line
Most chimney problems in Longmont have a mechanical explanation, and diagnosing the symptom before you call is the cheapest step in the whole process. Smoke rollback on windy days is a pressure and cap issue. Slow draft is a blockage or sizing issue. Odor with no smoke is a moisture or liner problem. If a sweep didn’t fix it, the sweep wasn’t the answer to begin with – sized liners, damaged dampers, and cracked tile all need repair, not cleaning. Creosote stages tell you which problems you can address and which require professional help. Your dryer vent belongs on the same annual list as your flue. And nothing gets recommended without camera evidence you’ve seen yourself.
We handle the full lifecycle of a chimney system, from a routine Chimney Sweep Longmont inspection to a DuraFlex reline or a HeatShield resurfacing job, plus the dryer vent cleaning most chimney companies skip. We name the brands we install, from Olympia Chimney to Famco, because you deserve to know what’s going into your home. If you’re ready to get a specific answer, call (855) 360-7080. We answer 24/7. Fast dispatch from 7am to 7pm, Sunday through Friday. The estimate is free and the price is set per job by the written estimate – no surprises, no pressure, and no work quoted that the flue actually doesn’t need.
Written by the team at Chimney Sweep Longmont.