
Last updated November 15, 2026
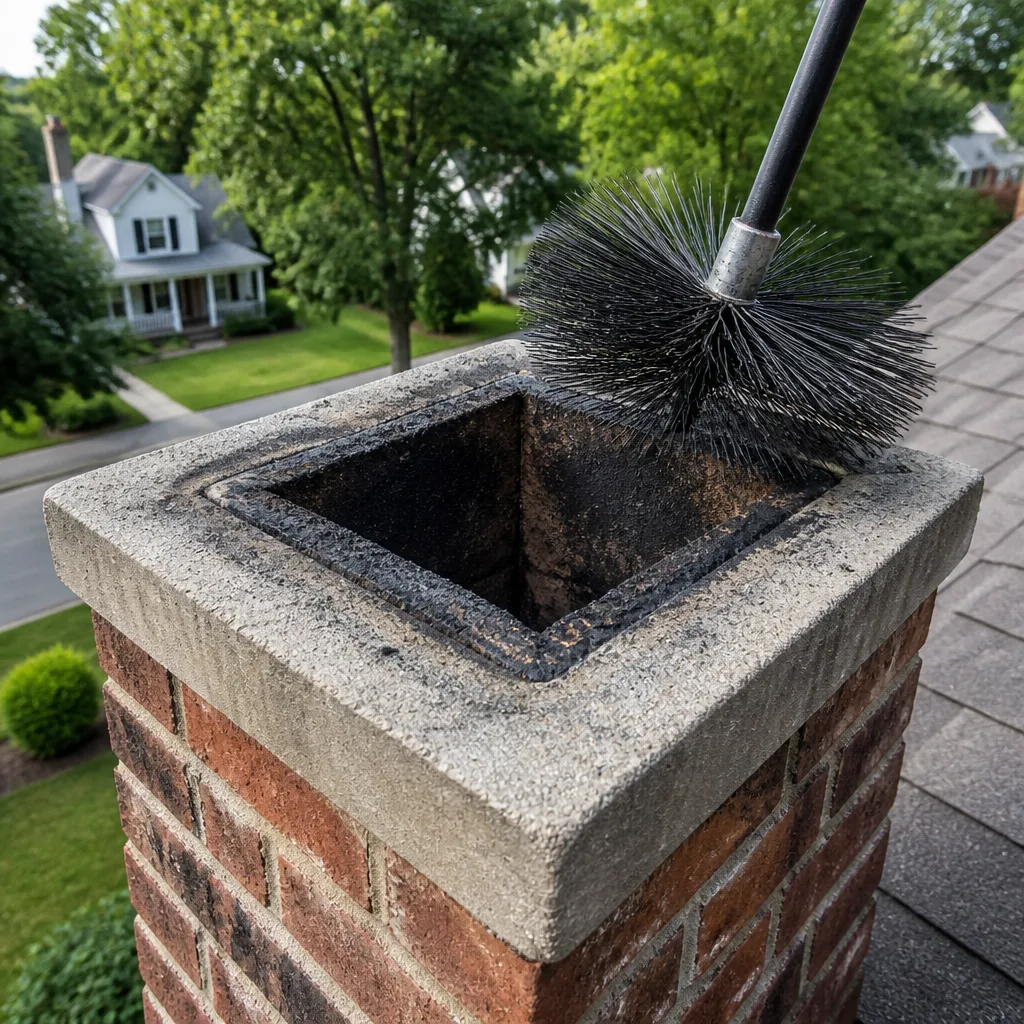 Sweep & inspection
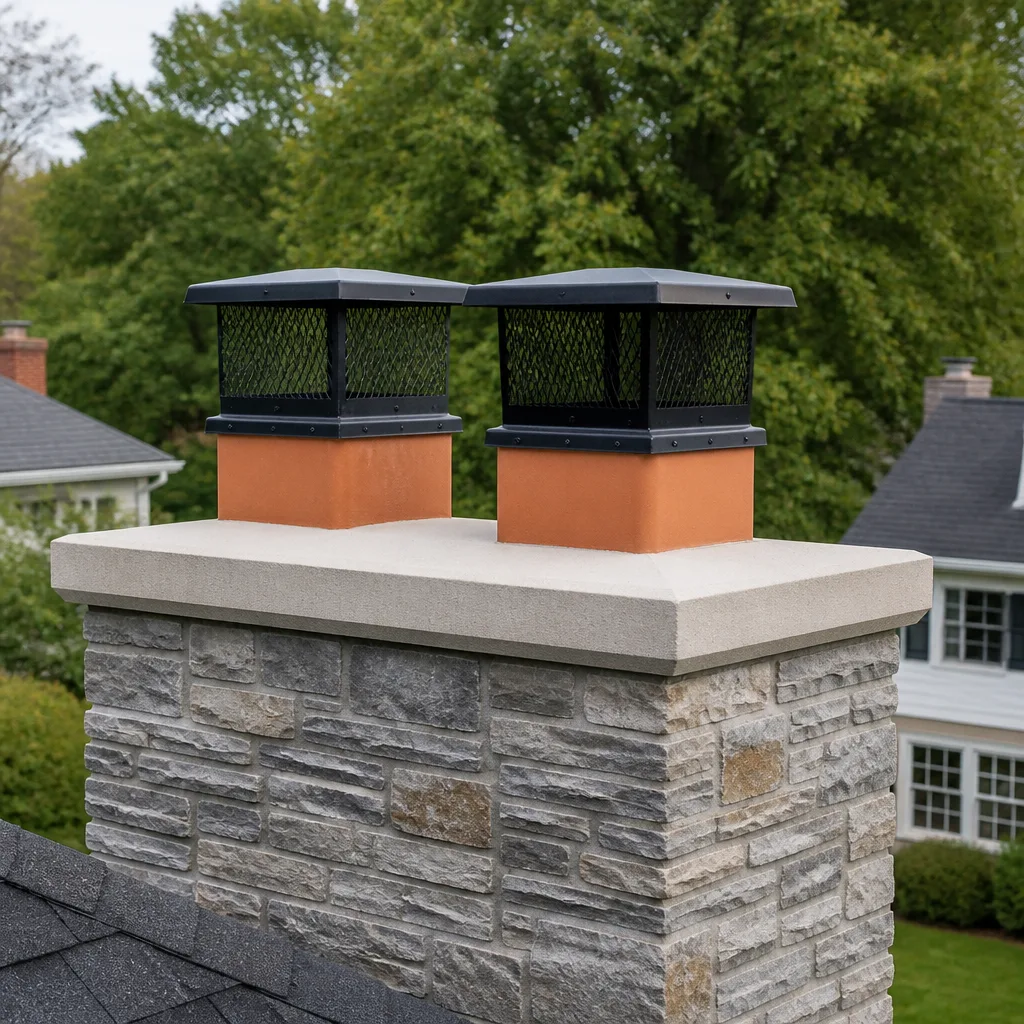 Caps & crowns
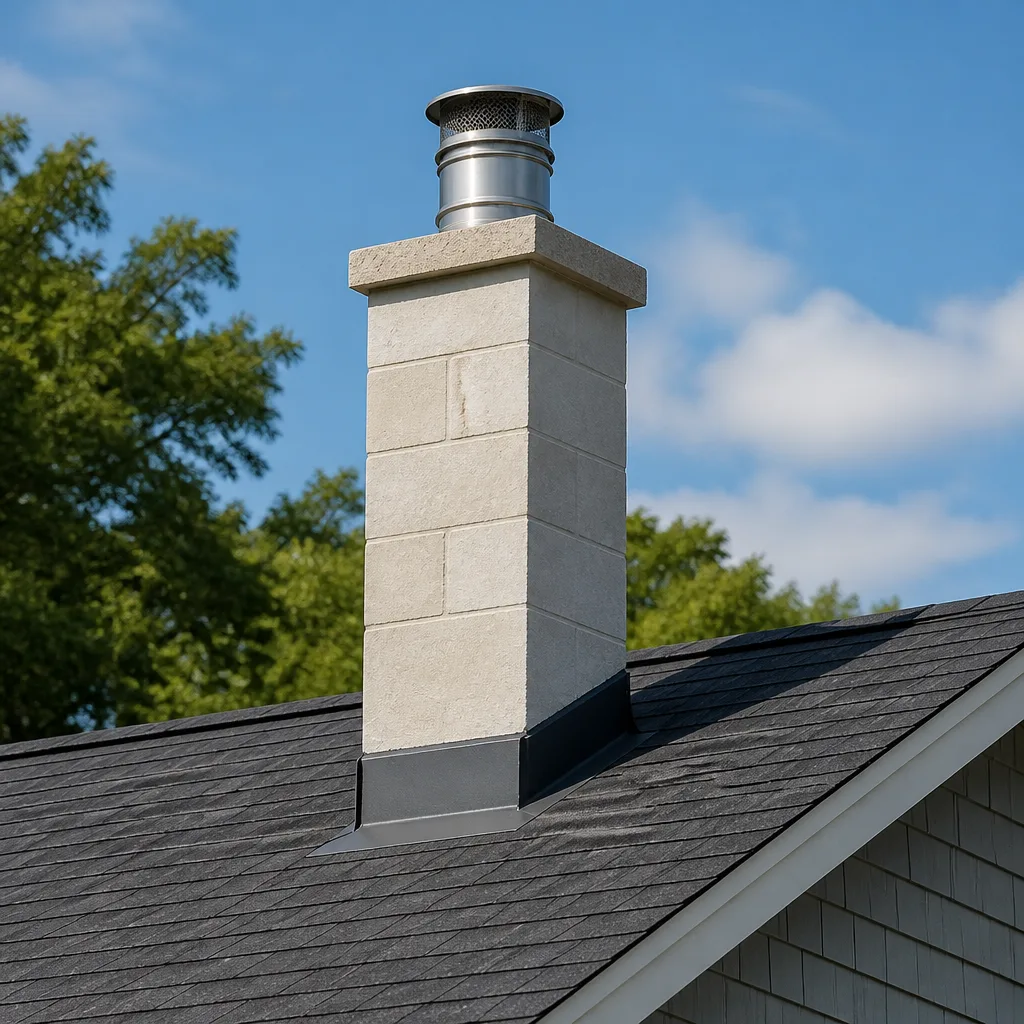 Flue relining
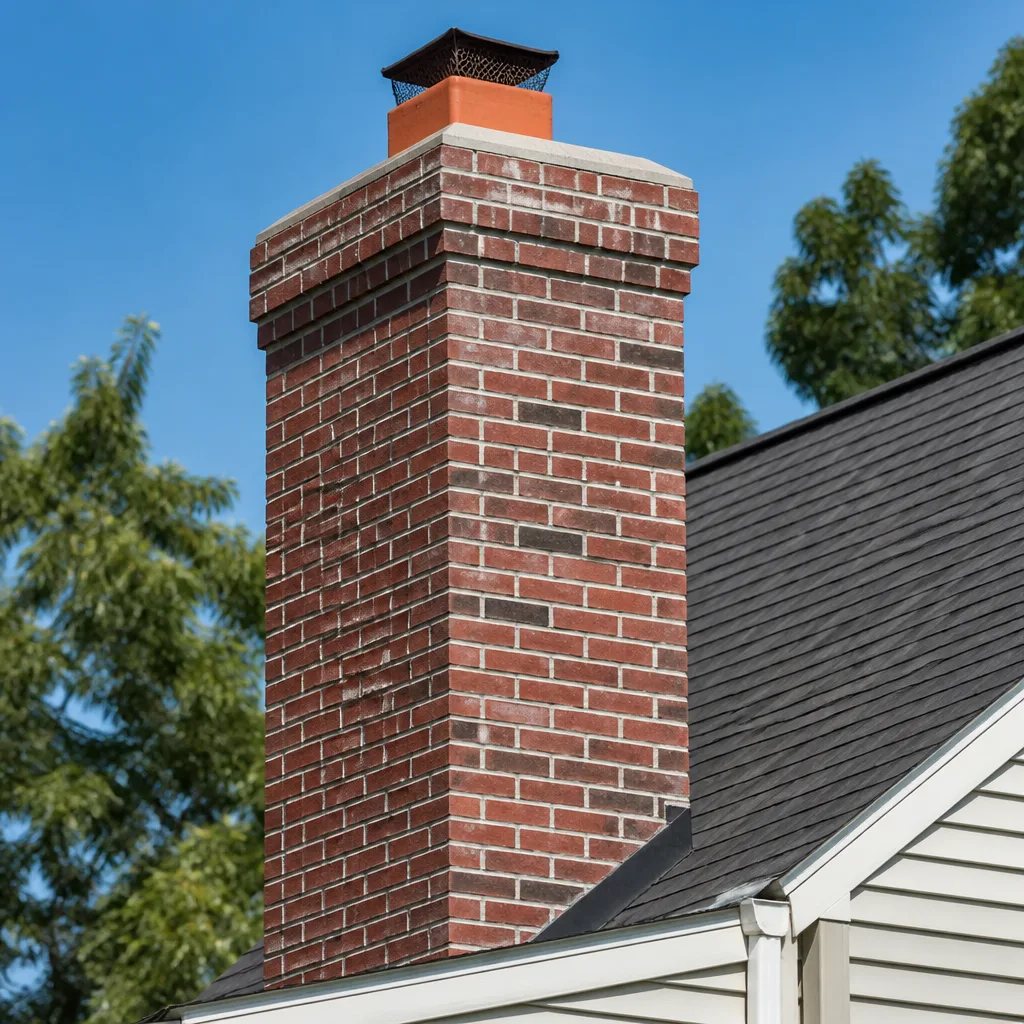 Masonry repair
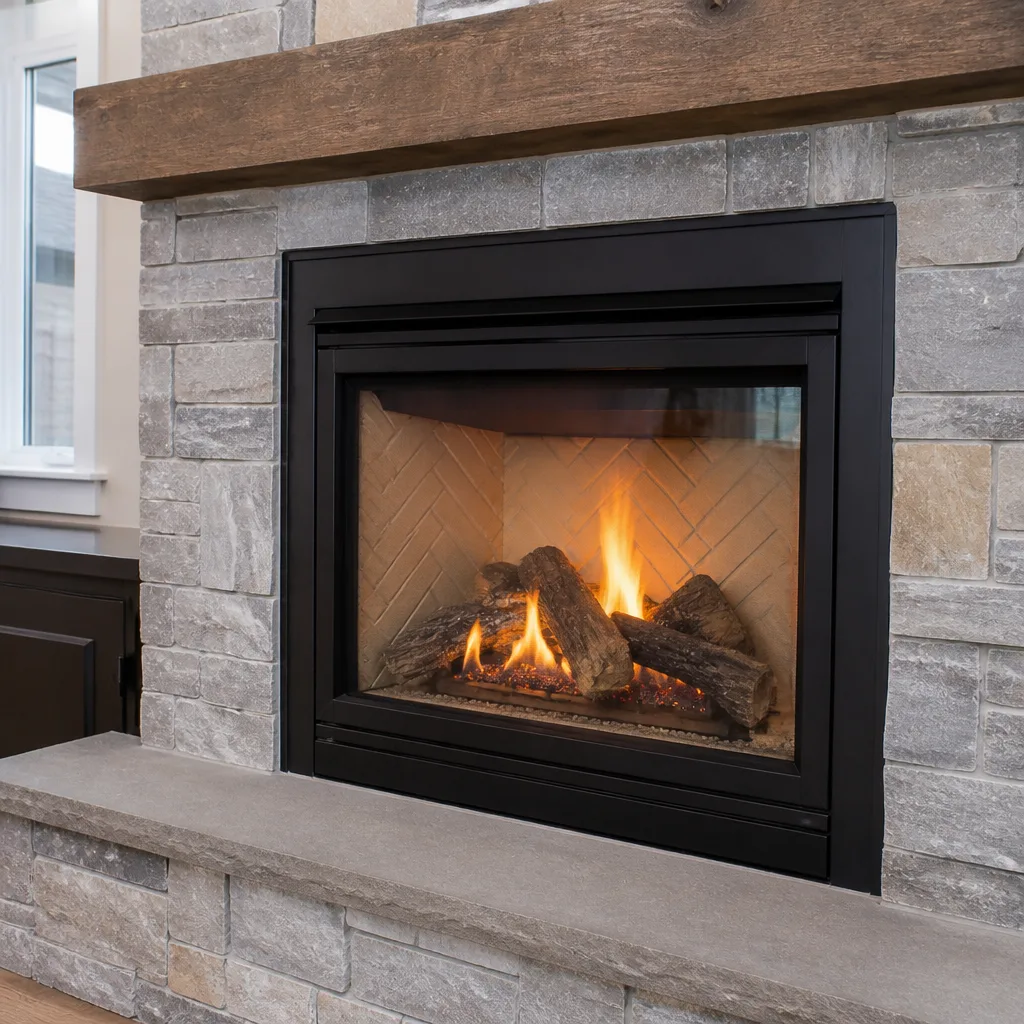 Gas fireplace service
Level 1 sweep and inspection to the NFPA 211 annual standard - flue, crown, cap, and flashing checked and photographed
Chimney sweep logs do not sweep chimneys. They loosen some creosote - which then falls where a brush and vacuum still have to collect it.
Chimney Sweep Maintenance Checklist for Longmont Homeowners
Most chimney checklists tell you to “inspect the cap” and “check the crown” and leave it there. That’s useless if you don’t know what a failing cap looks like or when a hairline crown crack is cosmetic and when it’s letting meltwater into the masonry. Here’s the piece almost every guide skips: what normal looks like, what abnormal looks like, and which findings you can watch yourself versus which ones only a trained eye finds with a camera. We’ll walk Longmont’s freeze-thaw reality into each item, show you how to document your chimney year over year, and flag which findings are worth photographing for your insurance file.
Styles & brands we work with
- Sweep & inspection
- Caps & crowns
- Flue relining
- Masonry repair
- Gas fireplace service
Quick Answer
A complete chimney maintenance checklist covers six exterior components (cap, crown, flashing, masonry joints, flue tile at the top, liner condition) and four interior ones (damper, smoke shelf, firebox, smoke chamber). Inspect the exterior items twice a year in Longmont – once in spring after the last freeze and once in early fall before burning season – and have the flue swept and camera-inspected annually. Anything involving the liner, smoke chamber, or hidden masonry needs a professional, not a homeowner with a flashlight.
Table of Contents
- Why a Longmont Chimney Checklist Isn’t the Same as a Generic One
- Exterior Checklist: Cap, Crown, Flashing, and Masonry
- Interior Checklist: Damper, Smoke Shelf, Firebox, and Smoke Chamber
- Liner Condition: What You Can See and What You Can’t
- Homeowner-Observable vs. Sweep-Only Findings
- Seasonal Timing for Each Item in Longmont’s Freeze-Thaw Cycle
- How to Document Your Chimney Year Over Year
- Insurance-Relevant Findings Worth Photographing
- Common Mistakes to Avoid
- When to Call a Professional
- Frequently Asked Questions
- The Bottom Line
Why a Longmont Chimney Checklist Isn’t the Same as a Generic One
Chimneys in Longmont live through a freeze-thaw cycle that starts earlier and hits harder than what most maintenance guides assume. The Front Range swings between warm afternoons and hard overnight freezes from late fall into early spring, and every one of those swings pulls moisture into masonry pores and then expands it. A crown crack that would sit static for years in a milder climate widens noticeably in one Colorado winter.
That has two consequences for a checklist. First, exterior items deserve more weight here than interior cosmetics – water intrusion is the leading cause of chimney deterioration in this climate, not fire damage. Second, timing matters. Inspecting in July tells you nothing about what a February freeze did. Inspecting in early spring, once the last hard freeze has passed, tells you exactly what the winter cost you.
Longmont’s housing stock spans everything from mid-century ranches near downtown to newer builds off Hover and in the southwest neighborhoods, and the masonry in older homes has been through more winters than the new stuff. Age isn’t automatically bad – a well-maintained 1960s chimney can be in better shape than a neglected 2000s one. What matters is whether anyone has actually looked at it with a camera and documented what they found. That’s the gap this checklist is built to close.
We’ve seen plenty of both in our work across Longmont, and the pattern holds: the chimneys with problems are almost never the ones with a maintenance record. They’re the ones nobody looked at since the house changed hands.
Exterior Checklist: Cap, Crown, Flashing, and Masonry
The exterior checklist catches the problems you can prevent most cheaply. Water and freeze-thaw do the damage here, and every item below is observable from the ground with binoculars or from a ladder you don’t climb.
Chimney Cap
- What it is: the metal or masonry hood at the very top that keeps rain, snow, birds, and squirrels out of the flue.
- Normal: sits flat and level, screen or mesh intact, no daylight visible between the cap and the crown.
- Failure looks like: a tilted or missing cap, torn mesh, rust-through on the top plate, or a cap that’s been pushed off its mortar bed. Any of these lets water straight into the flue and lets animals nest inside.
- Fixable yourself? Only if you’re comfortable on a roof. Most homeowners shouldn’t be. A displaced cap is a repair call, not a weekend project.
Crown
- What it is: the sloped concrete or mortar surface on top of the masonry that sheds water away from the flue.
- Normal: sloped away from the flue on all sides, hairline surface crazing is common and usually cosmetic.
- Failure looks like: cracks wide enough to catch a fingernail, a crown that’s separated from the flue tile, or a crown that’s flat or sloping toward the flue instead of away. Every one of those directs water into the masonry.
- Fixable yourself? No. Crown repair means breaking out the old surface and re-pouring or re-casting, and doing it wrong traps moisture instead of shedding it.
Flashing
- What it is: the metal that seals the joint where the chimney meets the roof.
- Normal: stepped into the shingles on the sides, a cricket on the uphill side, sealant intact where the metal meets masonry.
- Failure looks like: pulled-away metal, cracked or missing sealant, rusted-through flashing, or a missing cricket on the uphill side of a wide chimney. Those show up as interior leaks near the chimney, not always on the roof itself.
Masonry Joints and Spalling Brick
- What it is: the mortar bed between bricks and the brick faces themselves.
- Normal: joints that are filled, uniform, and don’t crumble under a fingernail.
- Failure looks like: recessed or crumbling mortar (repointing needed), brick faces flaking off (spalling), or a white powdery bloom on the masonry (efflorescence) that signals moisture moving through the brick.
Kick off the exterior half of the checklist in early spring, once Longmont’s last hard freeze is behind you. That’s when winter damage is fully visible and when you still have a full warm season to schedule repairs before the next burn.
Interior Checklist: Damper, Smoke Shelf, Firebox, and Smoke Chamber
The interior checklist is where homeowners get into trouble, because the most dangerous items aren’t visible from where you stand with a flashlight. Some can be checked from the firebox opening. Others need a camera or a mirror on a rod, and that’s a sweep’s job.
Damper
- What it is: the metal plate above the firebox that opens and closes the flue.
- Normal: opens fully and closes flat, moves freely without grinding, seals flush when shut.
- Failure looks like: a damper that binds halfway, sits crooked, or won’t close all the way. A stuck-open damper dumps your heat up the flue all winter; a stuck-closed one drives smoke into the room.
- Fixable yourself? Sometimes – clean and work the pivot if it’s just sticky. A cracked or warped damper plate is a repair.
Smoke Shelf
- What it is: the flat ledge behind the damper that catches soot and turns the smoke upward into the flue.
- Normal: a light even coat of soot, no debris piled up.
- Failure looks like: a shelf packed with creosote and debris, which narrows the flue opening and causes smoke rollout into the room. You can peek at it with a mirror and a bright light, but you can’t safely clean it without a proper sweep.
Firebox
- What it is: the firebox itself – brick, mortar, and (in many older Longmont homes) the firebrick lining.
- Normal: solid brick faces, mortar joints filled, no daylight showing through.
- Failure looks like: open cracks in the mortar joints wider than a dime, spalling firebrick, or a leaning fireback. Gaps here can let heat reach framing behind the firebox.
Smoke Chamber
- What it is: the sloped area directly above the damper and smoke shelf, funneling smoke into the flue.
- Normal: smooth, unbroken parging over the corbeled brick, no gaps or missing mortar.
- Failure looks like: cracked or eroded parging, missing corbel mortar, or a rough surface that catches creosote. This is the piece almost nobody can inspect from the firebox opening – it needs a camera run from above or below, and cracked corbeling here is a leading pathway for chimney fire heat to reach framing.
That last item is the single most important reason to have a sweep do the interior checklist, not just your own flashlight pass. A camera run is the only way to see it.
Liner Condition: What You Can See and What You Can’t
The liner is the flue wall itself – the clay tile, stainless steel, or cast-in-place material that keeps smoke and heat inside the chimney and away from the wood framing of the house. It’s also the item most often judged by eye when only a camera can tell you the truth.
What you can see from outside
- The top few inches of clay tile at the crown: look for cracks, missing chunks, or tile that’s shifted out of alignment.
- Tile that’s separated from the crown mortar joint – a gap here lets water run behind the tile.
What only a sweep finds
- Spalled tile in the middle of the flue run – when the inner face of a clay tile flakes off, the flue loses its smooth surface and creosote clings to the rough spot.
- Cracked or offset joints deeper in the flue, which let heat escape the liner and reach the masonry around it.
- Missing mortar at tile joints, which is common in older chimneys and invisible from either end.
When the liner has real damage, the two repair paths we install are HeatShield resurfacing (a cast-in-place repair that restores the liner from the inside without tearing out the old tile) and a DuraFlex flexible stainless liner (the standard for relining a flue whose original tile is too far gone to resurface). Both are named professional-grade products, and we tell you which one your chimney actually needs and why.
A camera inspection and photo report are part of every sweep we do. If a liner needs repair, you’ll see the photos that justify it – not just our word for it. That’s the whole point of documenting liner condition.
Homeowner-Observable vs. Sweep-Only Findings
The single most useful distinction in a maintenance checklist is which items you can honestly judge and which ones you can’t. Getting this wrong is how homeowners either panic over a cosmetic issue or miss a real one.
Homeowner-observable (with binoculars or a ladder you don’t climb)
- Cap displacement or missing mesh.
- Crown cracks visible from the ground, or a crown that looks flat instead of sloped.
- Flashing that’s pulled away or has obvious gaps in the sealant.
- Spalling brick faces and crumbling mortar joints on the exterior.
- Damper operation from inside the firebox.
- Efflorescence on the exterior masonry, signaling moisture movement.
Sweep-only findings
- Liner spalling and cracked or offset joints inside the flue run.
- Smoke chamber corbeling damage behind the damper.
- Creosote glaze (the hard, shiny, third-degree stage) coating the flue.
- Blockages from bird nests, squirrel nests, or a fallen tile.
- Hidden firebox cracks that don’t show from the opening.
- Deterioration behind the visible firebrick.
Notice the pattern: everything above the damper and inside the flue is sweep territory. Everything you can see from the yard or the firebox opening is fair game for your own twice-a-year pass. When your own pass turns up something, treat it as a reason to book a chimney sweep, not as a do-it-yourself challenge. The camera run will tell you whether it’s cosmetic or structural.
Seasonal Timing for Each Item in Longmont’s Freeze-Thaw Cycle
Longmont’s freeze-thaw cycle is the reason timing matters more here than in a mild climate. Water gets into masonry pores on a warm afternoon, freezes overnight, expands, and widens the crack a hair. Repeat that a few dozen times per winter and a small defect becomes a structural one.
Early spring (after the last hard freeze, before summer)
- Walk the exterior with binoculars and check the cap, crown, flashing, and masonry joints – this is when winter damage is fully visible.
- Book the annual sweep and camera inspection so any interior damage is caught before it’s had another season to grow.
- Schedule masonry or crown repairs in late spring or early summer, when mortar cures reliably and there’s time before the next freeze.
Late summer to early fall (before burning season)
- Re-check the exterior for anything the summer heat or hail loosened.
- Confirm the damper operates smoothly and the firebox has no new cracks.
- Have the flue swept before you light the first fire – creosote accumulates over the burn season, and a clean flue is what makes the winter safe.
Mid-winter (during the burn season)
- Keep an eye on the exterior from the ground whenever it’s safe to walk outside.
- Watch for smoke rollout into the room, a damper that’s getting harder to work, or interior water stains near the chimney – any of these is a reason to call before spring.
The seasonality is simple: catch winter damage in spring so repairs can cure before the next freeze, and sweep in fall so creosote doesn’t build up into the winter. Two visits a year – your own visual pass in spring and fall, plus one professional sweep and camera run annually – covers the checklist.
How to Document Your Chimney Year Over Year
A chimney is a slow-moving structure. Deterioration that looks alarming in one snapshot might be years old and stable, or it might be the third year of a crack that’s doubled in width. You can’t tell which without a record. This is the piece that turns a one-time checklist into a maintenance plan.
- Start a chimney file. A simple folder or a cloud album works. Keep every sweep report, photo set, and receipt in one place.
- Photograph the exterior from the same four angles every spring. Front of the chimney, both sides, the back if you can get it. Date each photo.
- Ask for the camera inspection photos. A professional sweep delivers a photo set from inside the flue and the smoke chamber. Save the whole thing each year.
- Note the findings in one line per year. “Crown crack 1/16 inch, upper left, unchanged.” “Liner tile spalling at second joint, watch.” That one line is how you spot a trend.
- Compare the width, not just the presence, of cracks. A hairline that stays hairline is a watch item. A hairline that’s a fingernail-width in two years is a repair you should schedule before it becomes an emergency.
- Set yourself a reminder for both seasonal passes. The point of documentation is that it happens on a schedule, not when you remember.
The value of the record shows up in two places. First, it tells you when to repair rather than react – a crack widening year over year is a scheduled repair, not an emergency call. Second, it’s the history you hand the next owner of the house if you ever sell. A chimney with a documented annual sweep and photo set is a much easier sell than one with an unknown history.
Insurance-Relevant Findings Worth Photographing
If your chimney has damage that an insurance company would ask about, a dated photo is worth far more than a verbal recollection. Not every item on the checklist is insurance-relevant, but these are:
- Flashing damage and interior water stains. If a storm pulls your flashing loose and water gets in, photos of both the flashing and the interior stain document the cause.
- Hail damage to the cap, crown, or masonry. Longmont gets hail, and hail-battered caps and crowns are worth photographing immediately after the storm, before the damage gets blamed on age.
- Firebox and smoke chamber damage found during an inspection. If a chimney fire ever does happen, a documented pre-existing condition makes the claim conversation honest.
- Creosote glaze. A heavily glazed flue is a chimney fire risk. Documenting that you had it swept and documented is part of a good-faith maintenance record.
- Water intrusion and efflorescence. Insurance sometimes covers storm-driven water damage; documentation of when it started matters.
Keep the photos in your chimney file and mirror them to your home insurance file. You don’t need to send them to the insurer proactively; you just want them on hand if a claim comes up. We can work with your insurer if a claim needs documentation from a professional sweep.
Common Mistakes to Avoid
- Treating the flashlight pass as the inspection. A visual walkaround is useful, but it can’t see the liner spalling, the smoke chamber corbeling, or the creosote glaze deeper in the flue. Book a sweep and camera run for the parts you can’t reach.
- Ignoring a hairline crown crack because it’s “small.” In Longmont’s freeze-thaw cycle, a hairline crown crack widens a little every winter. Catch it in spring when it’s cheap to fix, not in five years when water has gotten behind the flue tile.
- Waiting until winter to notice the damper or the smoke shelf. By the time you’re sitting by a smoky fire in January, the fix is urgent rather than scheduled. Do the interior pass before burning season, not during it.
- Skipping years because “we don’t burn that much.” Even a gas fireplace and a rarely used wood fireplace accumulate soot and creosote, and rain and freeze-thaw don’t care how often you light it. The annual sweep is about the chimney, not the fire count.
- Assuming a reline without asking for the evidence. A liner repair is sometimes genuinely needed and sometimes sold as a default. Ask for the camera photos that justify it. If they can’t show you the damage, ask why not.
- Forgetting the dryer vent. Most chimney checklists ignore the dryer vent, but lint buildup is a leading household fire hazard. If your checklist doesn’t include dryer vent cleaning, it’s incomplete.
- Never documenting anything. A chimney with no history can’t tell you whether a finding is new or old. The one-line-per-year habit takes two minutes and pays off for the whole life of the chimney.
When to Call a Professional
Some findings you can watch yourself. Others need a professional on the roof or a camera in the flue. Call for a professional when you see any of the following:
Cracks in the smoke chamber or corbeled area you can’t inspect safely, liner spalling, cracked or offset flue tile, a damper or smoke shelf that’s clearly failed, active water intrusion near the chimney, a missing or badly damaged cap, or an annual sweep that hasn’t happened in more than a year. Also call if you had a chimney fire or a strong burning smell at any point. Chimney Sweep Longmont offers free estimates in Longmont – call (855) 360-7080. We answer 24/7. Fast dispatch from 7am to 7pm, Sunday through Friday. The written estimate sets the price, and nothing gets recommended without camera evidence you can see for yourself.
We’re authorized to install and work with HeatShield, Gelco, Olympia Chimney, DuraFlex, and Copperfield products, so what we recommend is professionally specified, not the hardware-store substitute. From the first sweep to a full liner repair, we handle the whole flue and chimney system.
Frequently Asked Questions
Once a year, and twice a year if you burn wood regularly through the season. The annual sweep catches creosote buildup, liner damage, and smoke chamber deterioration before they become structural repairs.
A full sweep covers the cap, crown, flashing, masonry joints, liner, damper, smoke shelf, firebox, and smoke chamber, plus a camera inspection of the flue. The camera run is what finds the spalling, offset tile, and corbeling damage nobody can see from the firebox opening.
You can do the homeowner-observable half – cap, crown, flashing, exterior masonry, and damper. The sweep-only half (liner, smoke chamber, creosote glaze, hidden firebox cracks) needs a trained eye and a camera. Book the professional sweep annually and do your own visual pass in spring and fall.
A hairline crack usually isn’t, but it doesn’t stay hairline in Longmont’s freeze-thaw cycle. Each winter widens it a hair. The fix is cheap now and expensive once water has gotten behind the flue tile.
Because deterioration is slow and gradual. A single photo can’t tell you whether a crack is stable or growing. A year-over-year record, with dated photos and one line of notes per year, tells you when a finding is a watch item and when it’s a scheduled repair – and it’s a good-faith maintenance record if you ever make an insurance claim.
Yes. Lint buildup in a dryer vent is a leading household fire hazard, and most chimney-only companies skip it. It belongs on the same annual checklist as the chimney sweep because it’s the same category of fire-safety maintenance.
The Bottom Line
A chimney maintenance checklist is worth doing only if it tells you what normal looks like and what failure looks like – not just a list of things to glance at. The homeowner-observable items (cap, crown, flashing, exterior masonry, damper) deserve a twice-a-year visual pass, in spring after Longmont’s last freeze and in fall before burning season. The sweep-only items (liner, smoke chamber, creosote glaze, hidden firebox cracks) need a professional camera run every year. Photograph what you find, note it once per year in a chimney file, and keep your insurance-relevant photos handy. That record is what lets you time repairs before they become emergencies. Call (855) 360-7080 to book your sweep and camera inspection – free estimates, and nothing is recommended without camera evidence you can see for yourself.
Written by the team at Chimney Sweep Longmont.
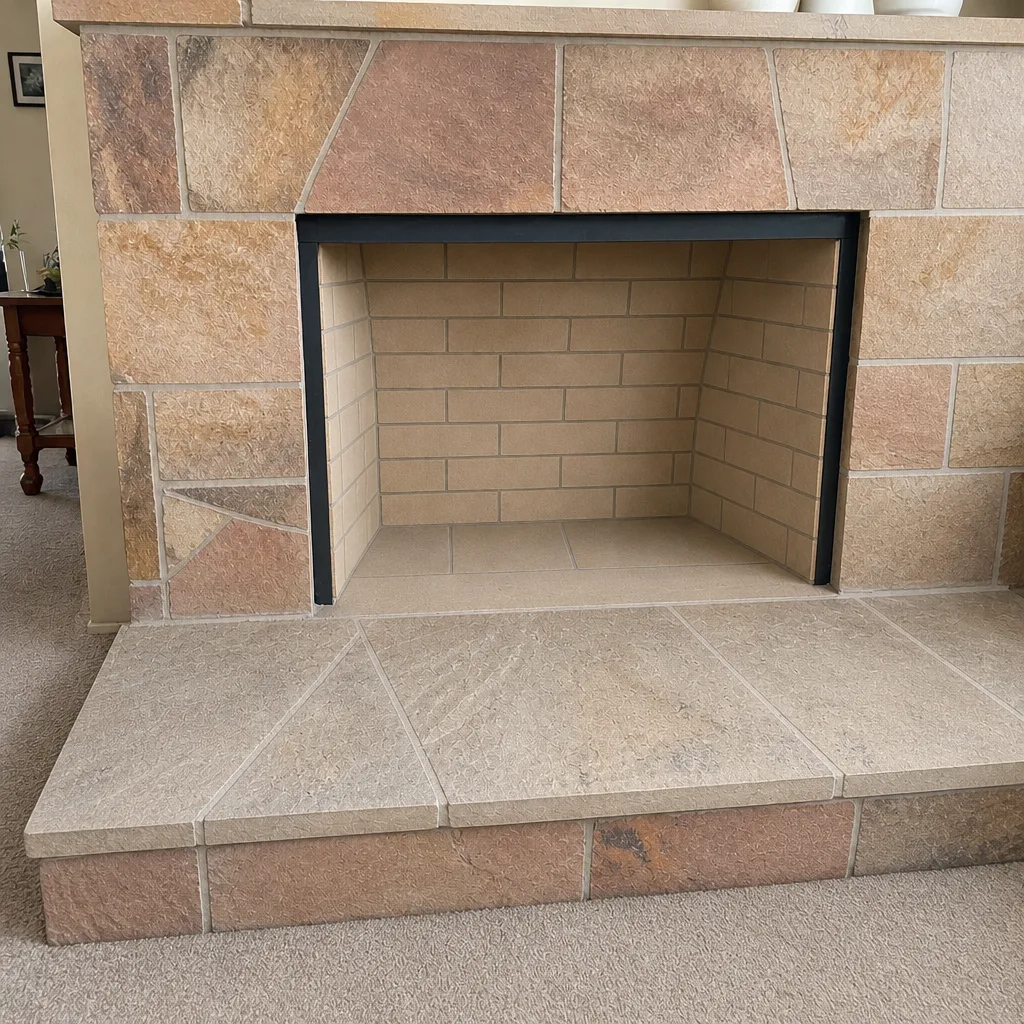
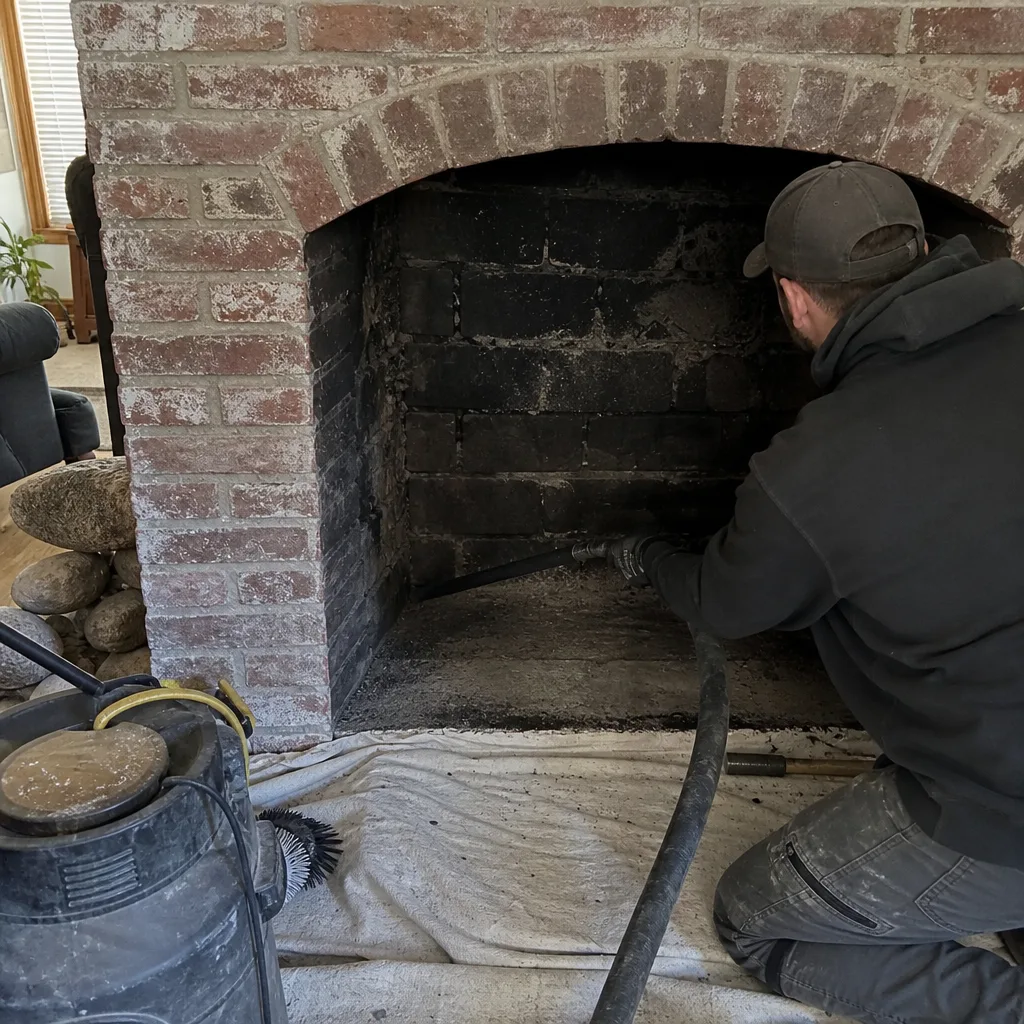
See the difference
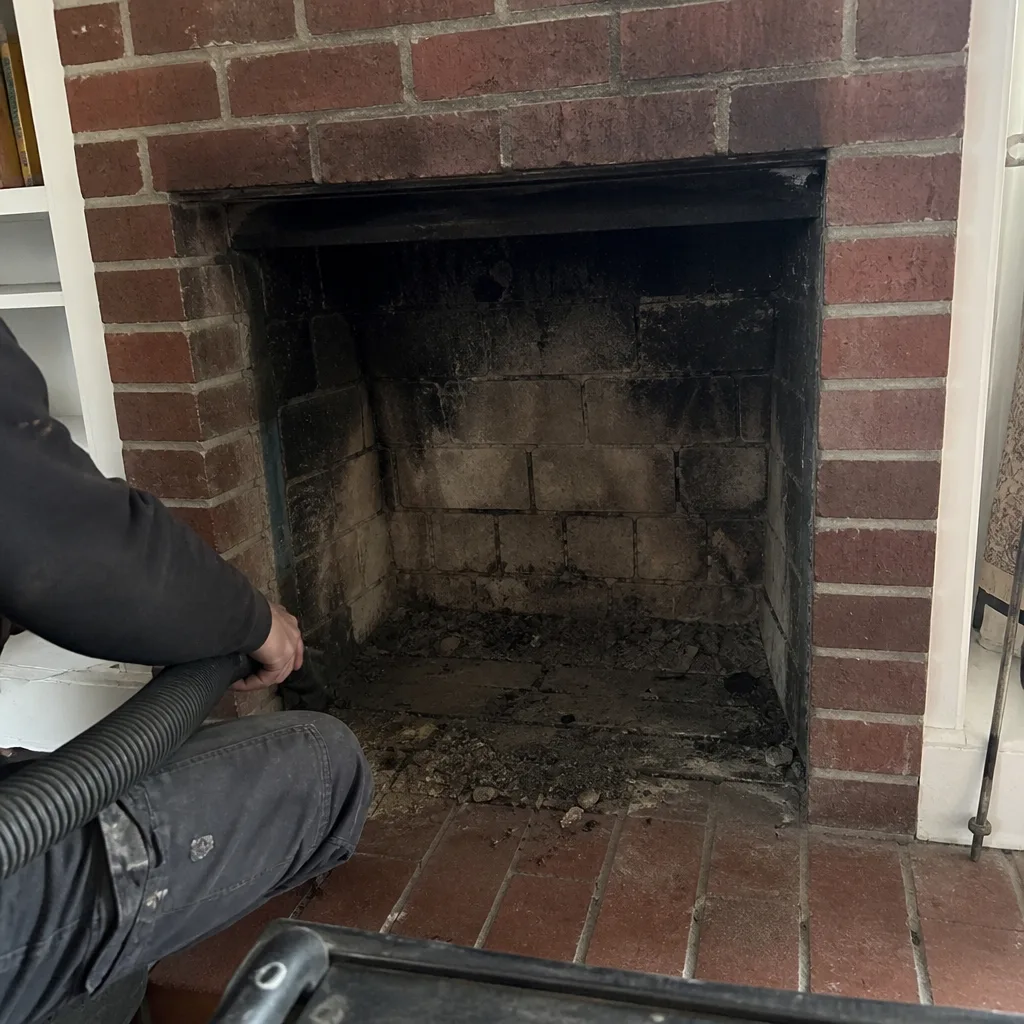 Before
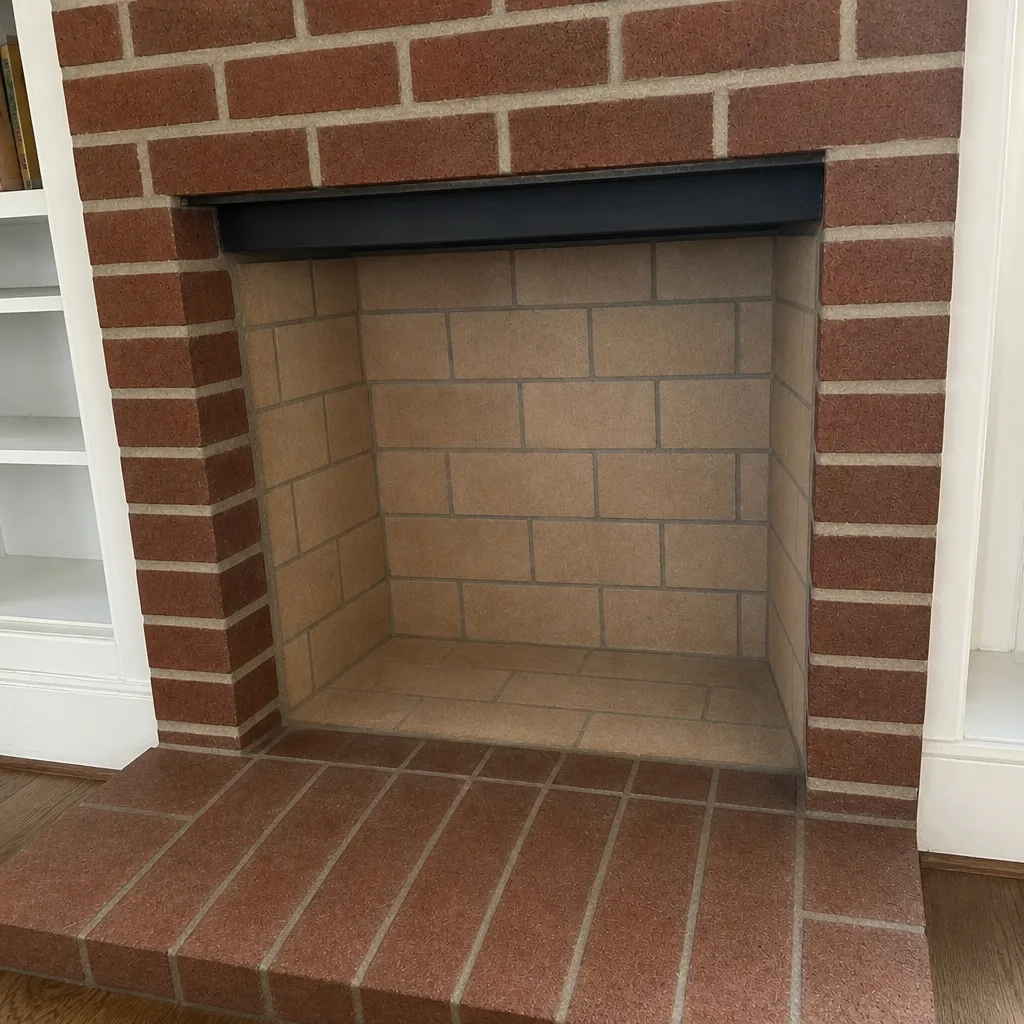 After
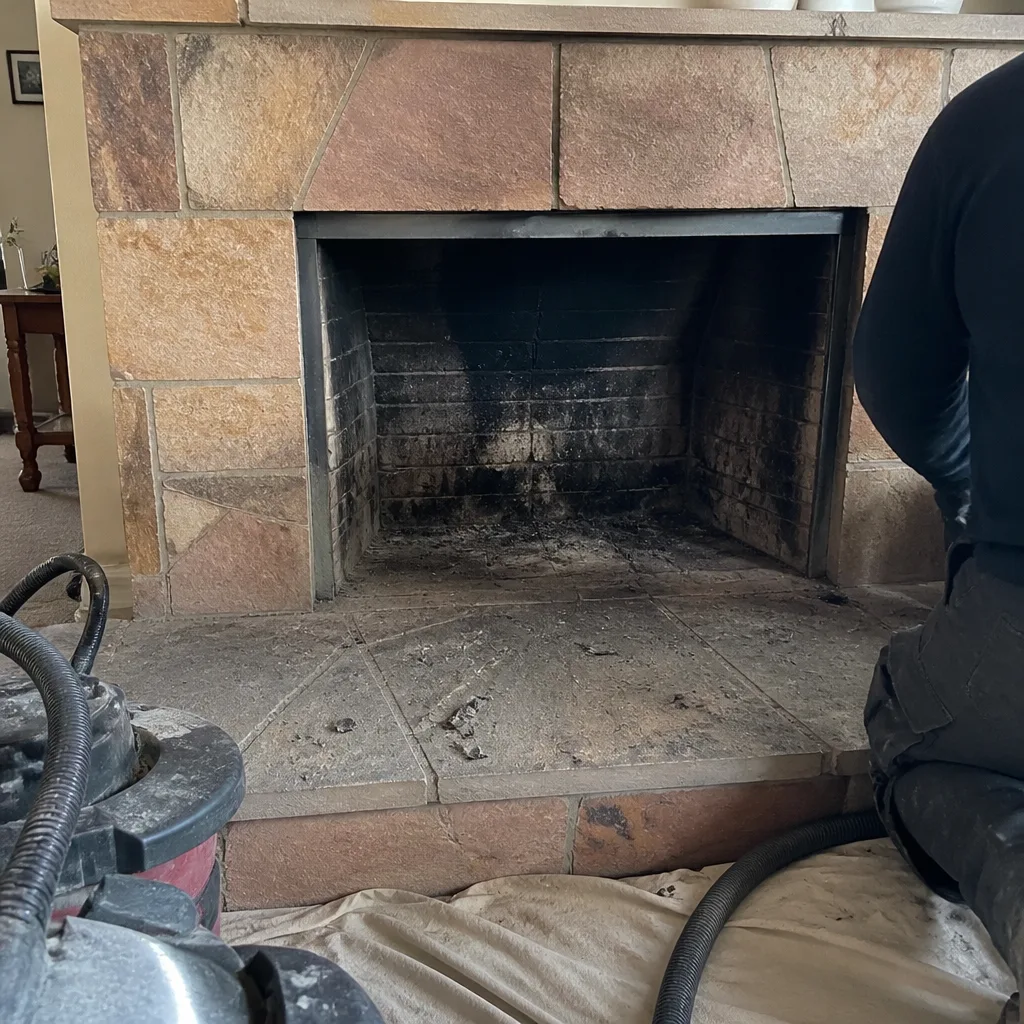 Before
 After
 Before
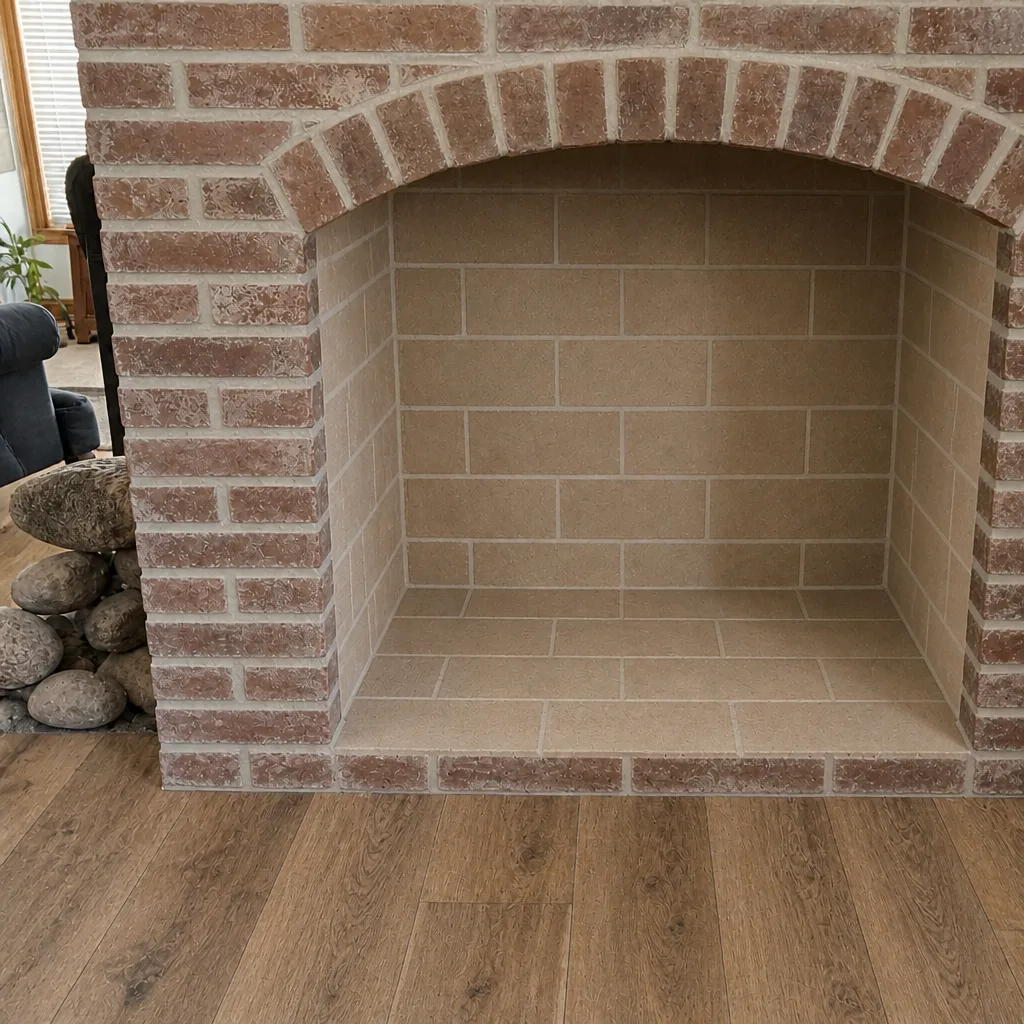 After